
How to Stabilize Maple Burl for Knife Handles (Step-by-Step Guide + Ready Materials)
04.24.2026
Why Raw Wood Becomes Unreliable Over Time
Anyone who has worked with wood on knife handles has likely seen the same thing more than once. The handle looks solid right after finishing, but over time it begins to behave differently. It may not be obvious at first - slight movement, a small shift in geometry, or fine cracks starting to appear.
These changes don’t happen randomly. Wood reacts to moisture and temperature, and over time those reactions accumulate. For a knife handle, that becomes a real issue, not just a cosmetic one.
This is exactly where the stabilized wood process comes into play. The goal is not to improve appearance, but to prevent those changes before they happen.
Understanding the Wood Stabilization Process
It is often described as “resin treatment,” but that definition misses the point. Stabilization is not about coating or sealing the surface.
The wood stabilization process changes what is happening inside the material. Air is removed from the internal structure, and cactus juice takes its place. Once cured, it becomes part of the wood itself rather than a separate layer.
That leads to several noticeable changes:
• increased density and structural strength - the material feels more solid and resists mechanical stress better
• reduced moisture sensitivity - less reaction to environmental changes
• improved dimensional stability - shape remains consistent over time
• enhanced grain contrast - natural patterns become more visible and defined
These changes explain why stabilized wood for knife handles is used when reliability matters, not just appearance.
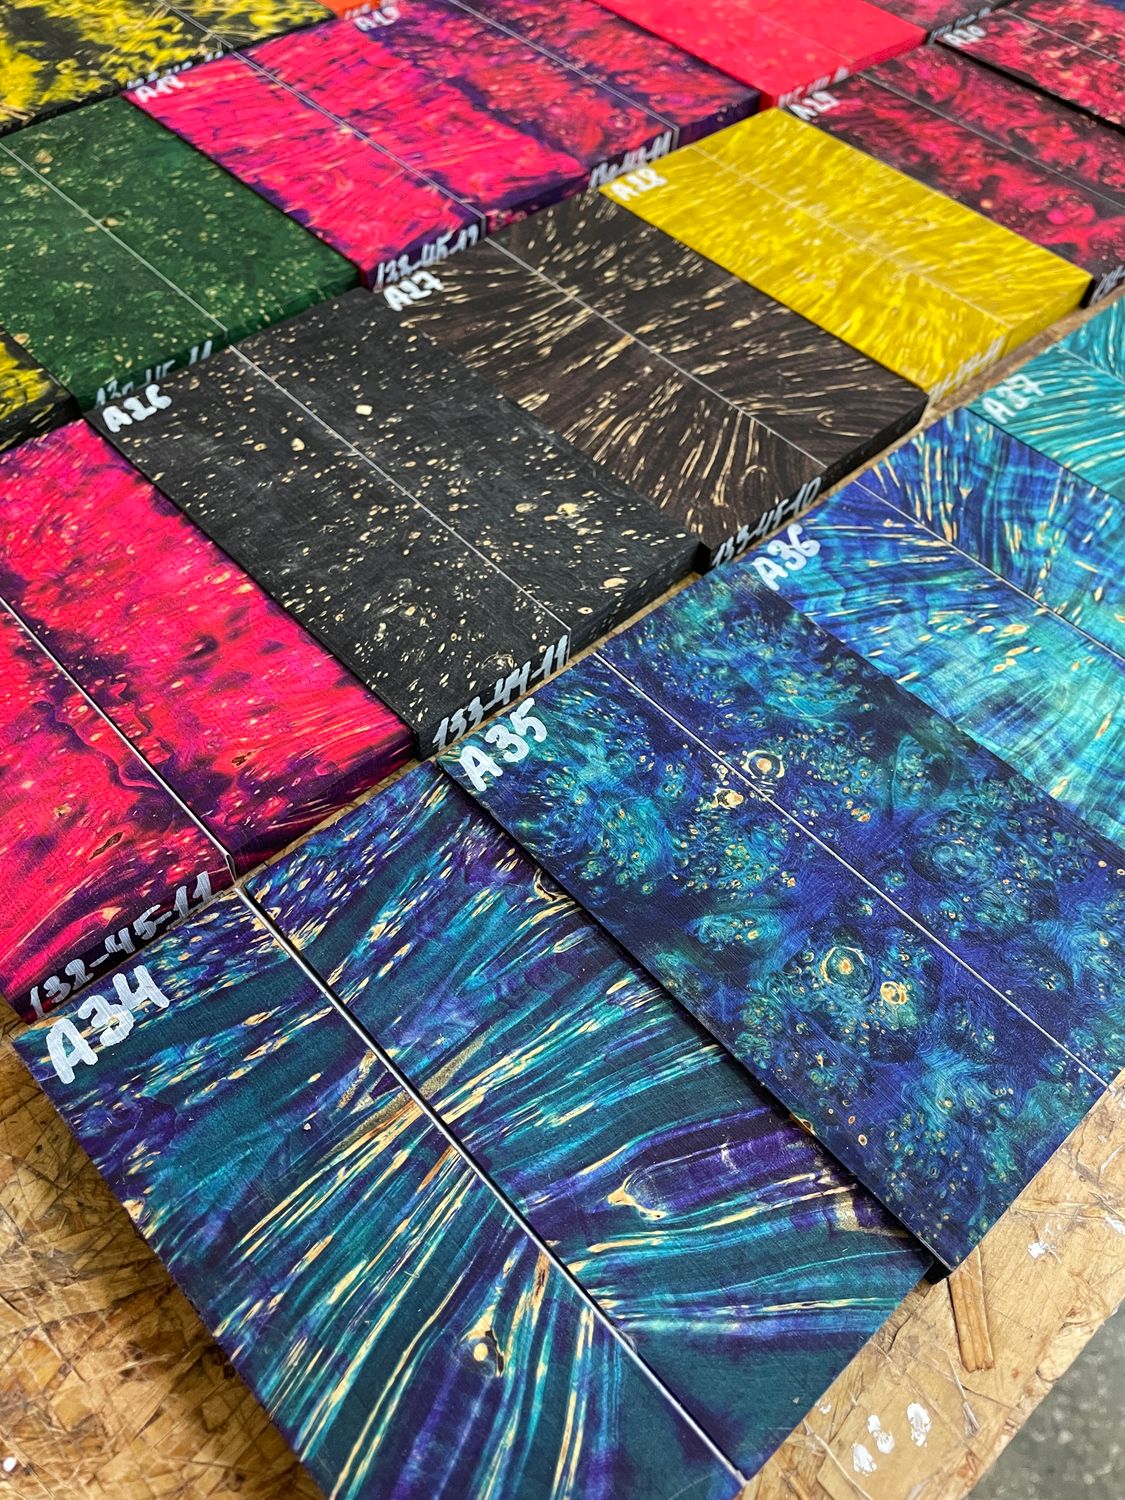
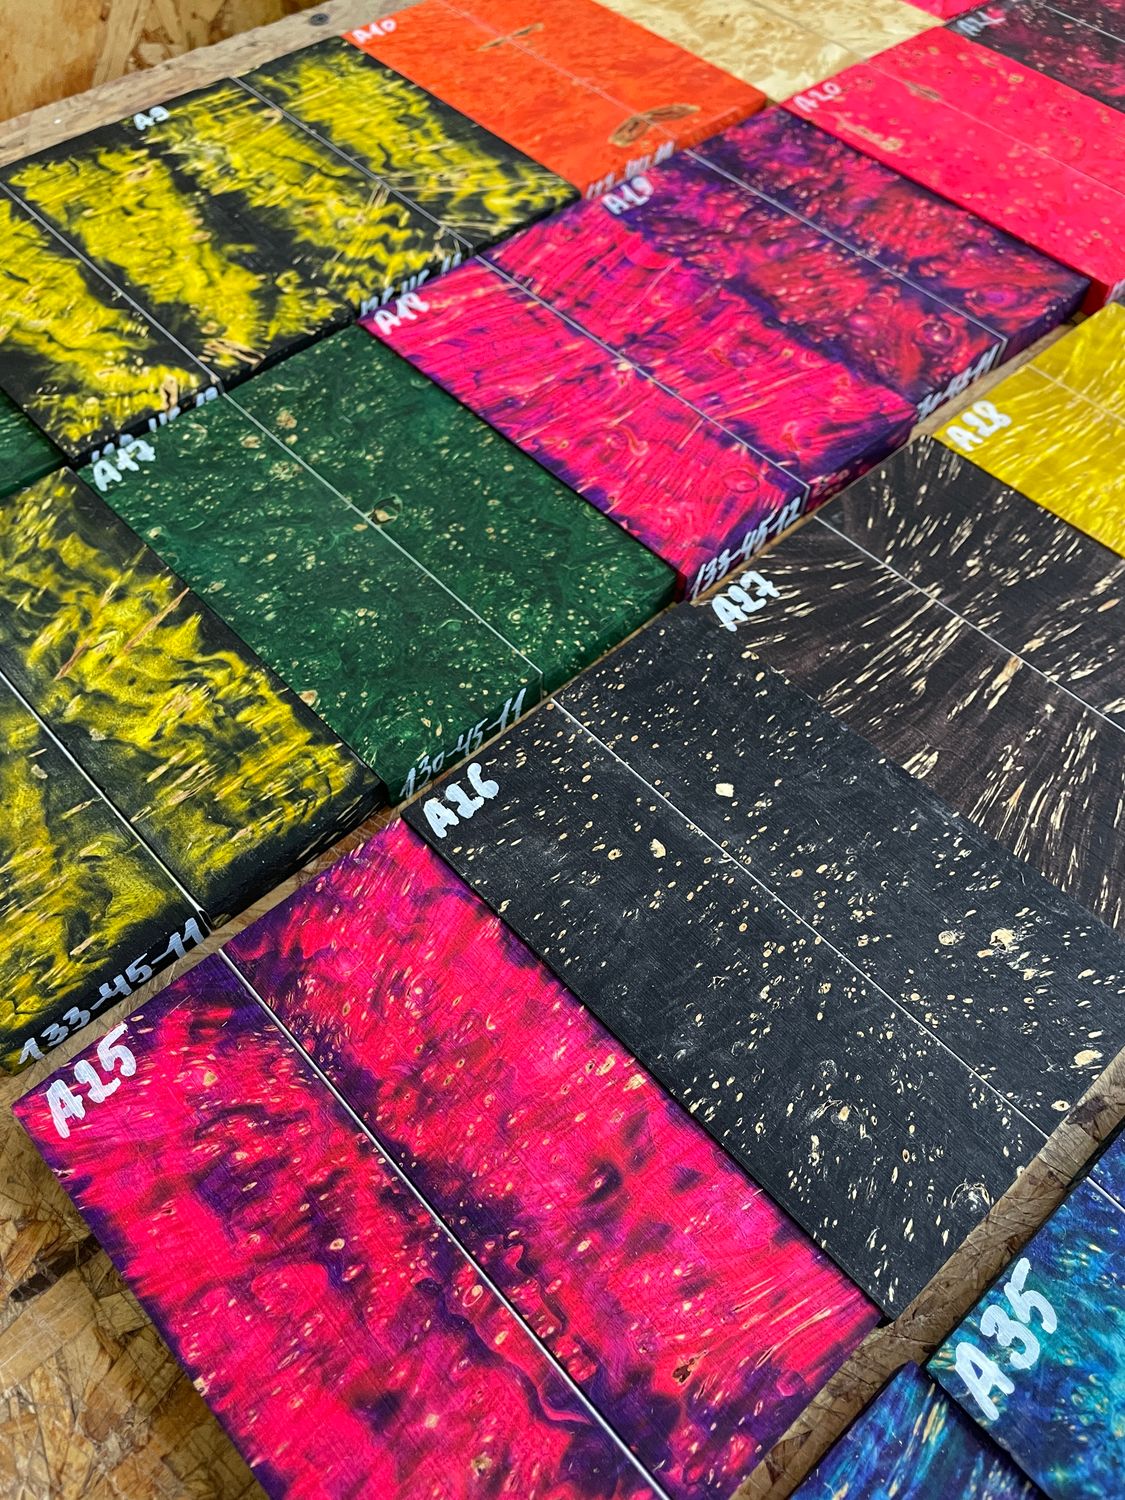
Material Selection: Working with Maple Burl
The starting material makes a difference long before stabilization begins. In this case, we are dealing with stabilized maple burl wood, most often box elder.
This type of wood is not typically valued in standard lumber production. It grows quickly and does not produce straight, predictable grain. But under the right conditions, it forms burl - dense, irregular growth with complex internal structure.
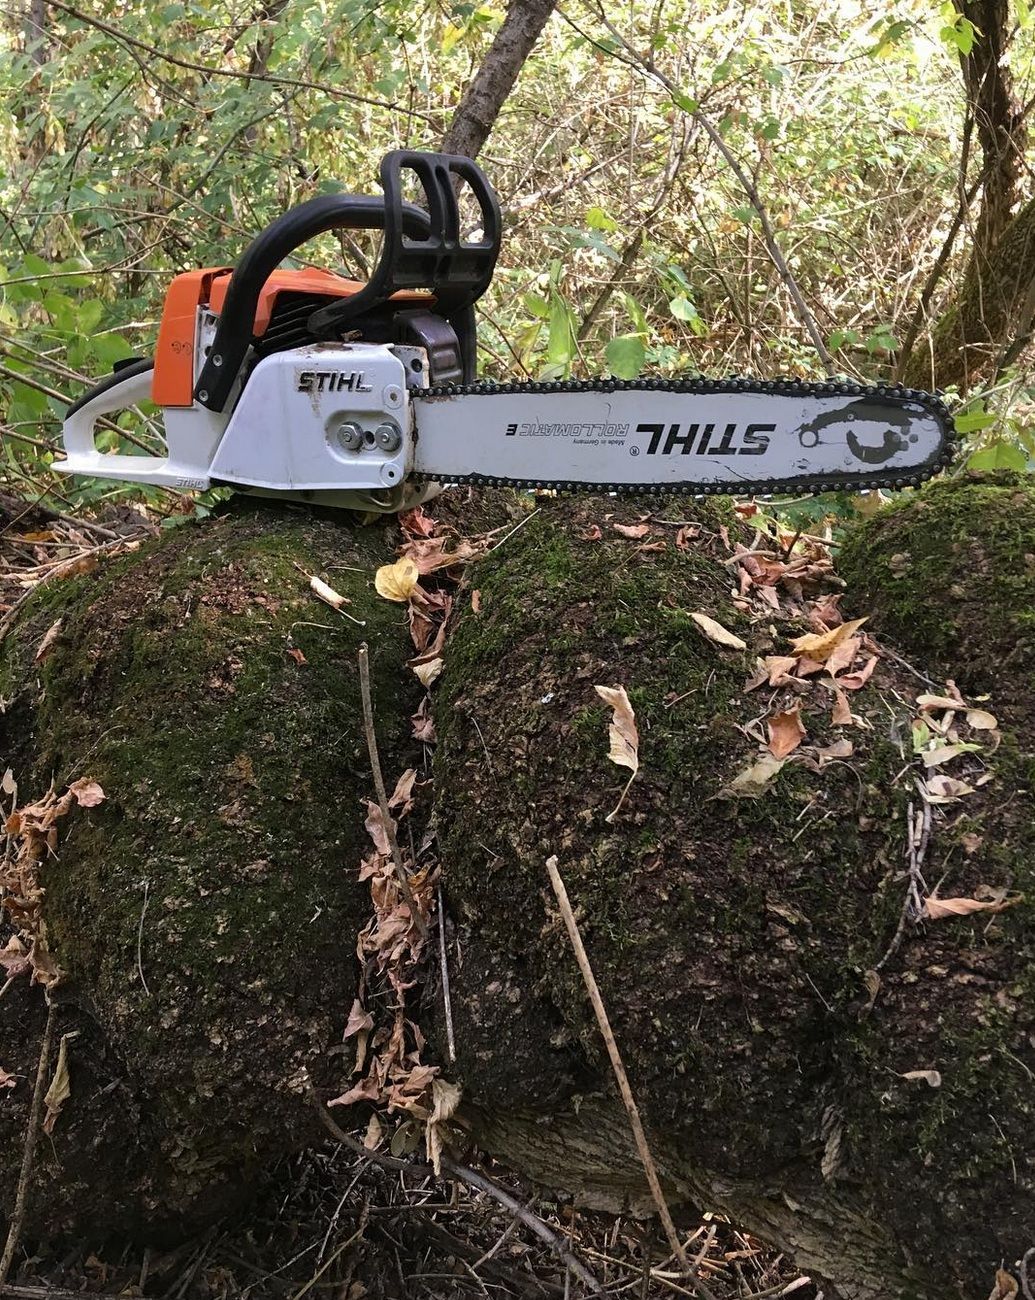
In practice, burl is rarely sourced through traditional suppliers. More often, it is found in places where trees have already fallen or been removed.
Not every piece is usable. Some sections are too unstable, others contain defects that become obvious only after cutting. That is part of working with burl and something that cannot be fully controlled.
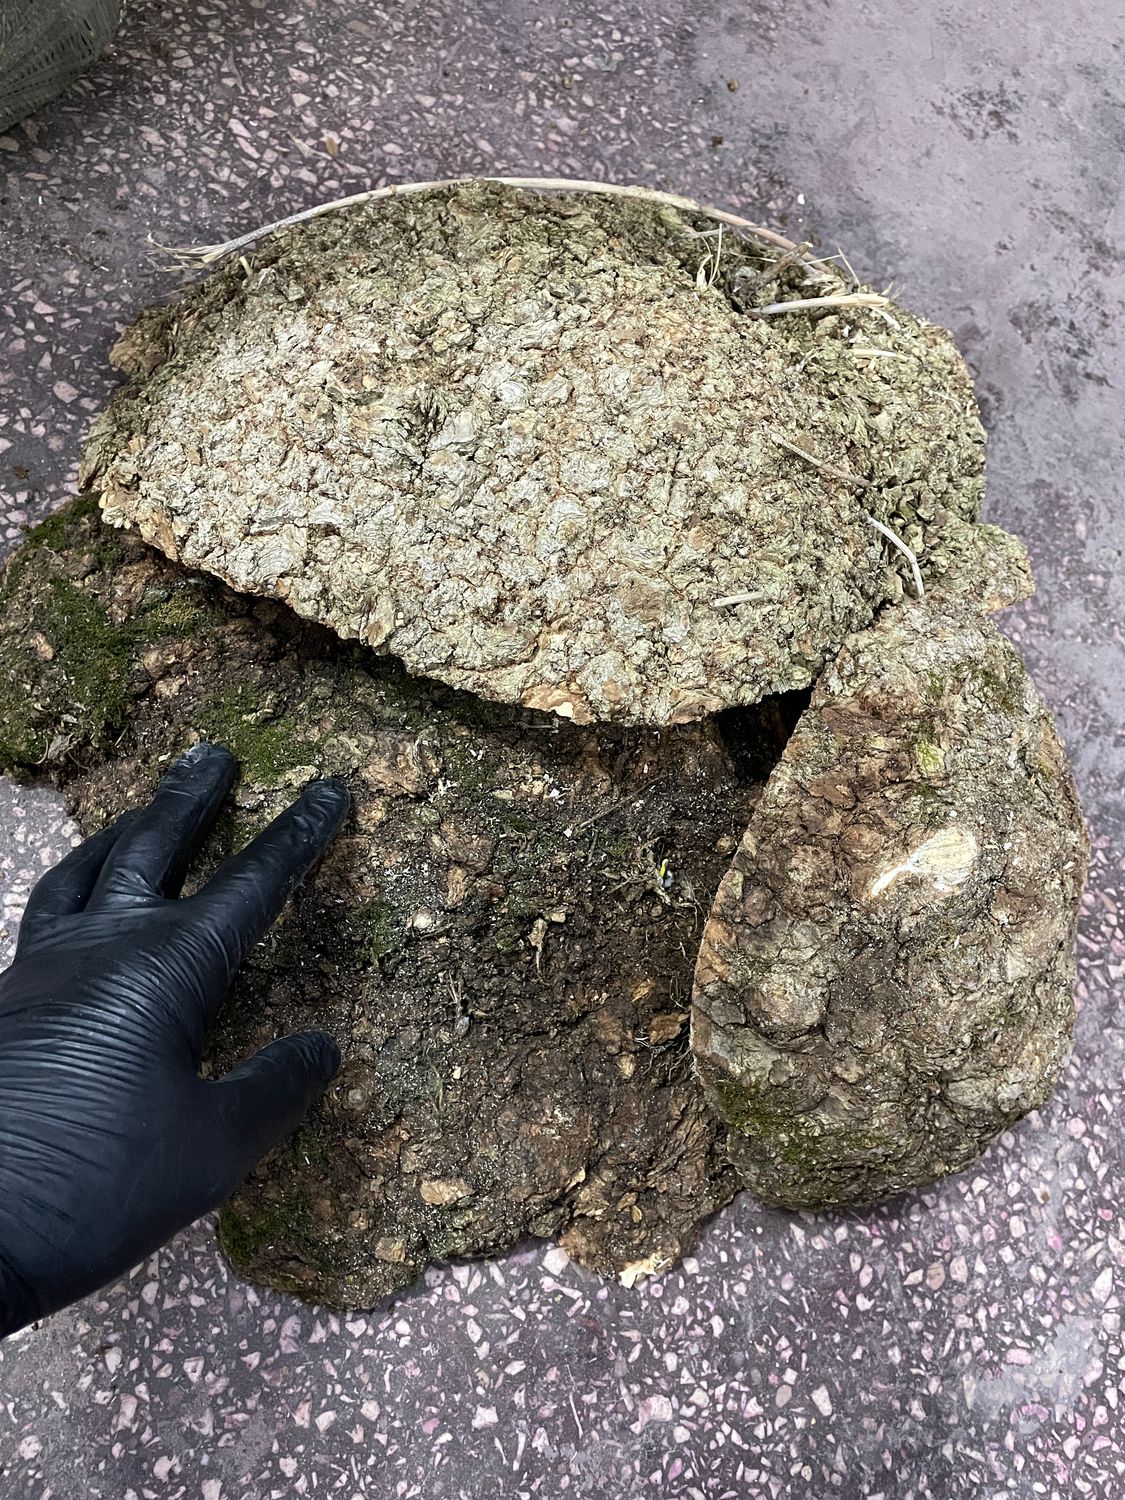
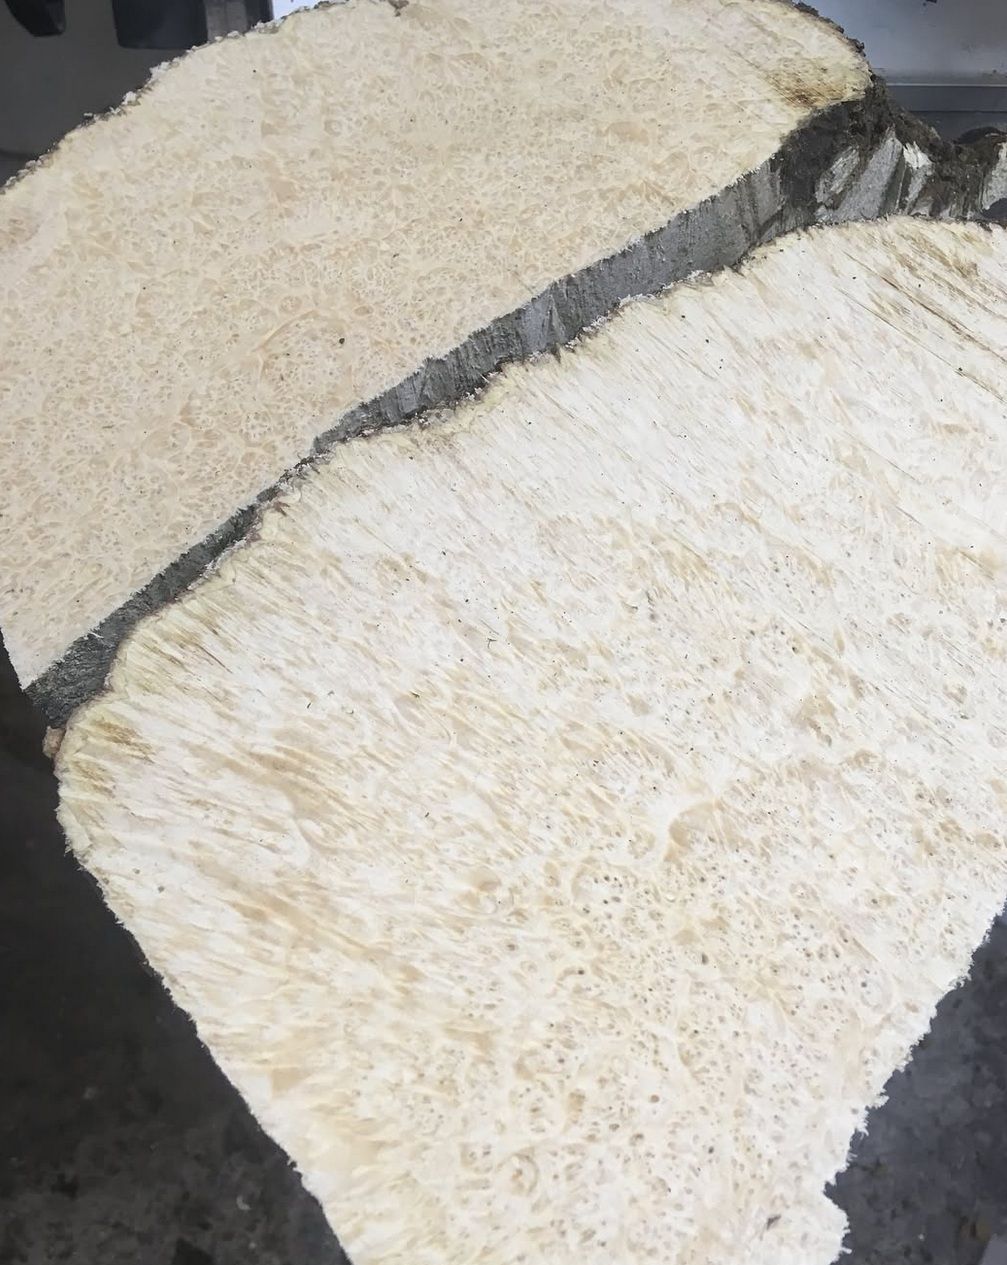
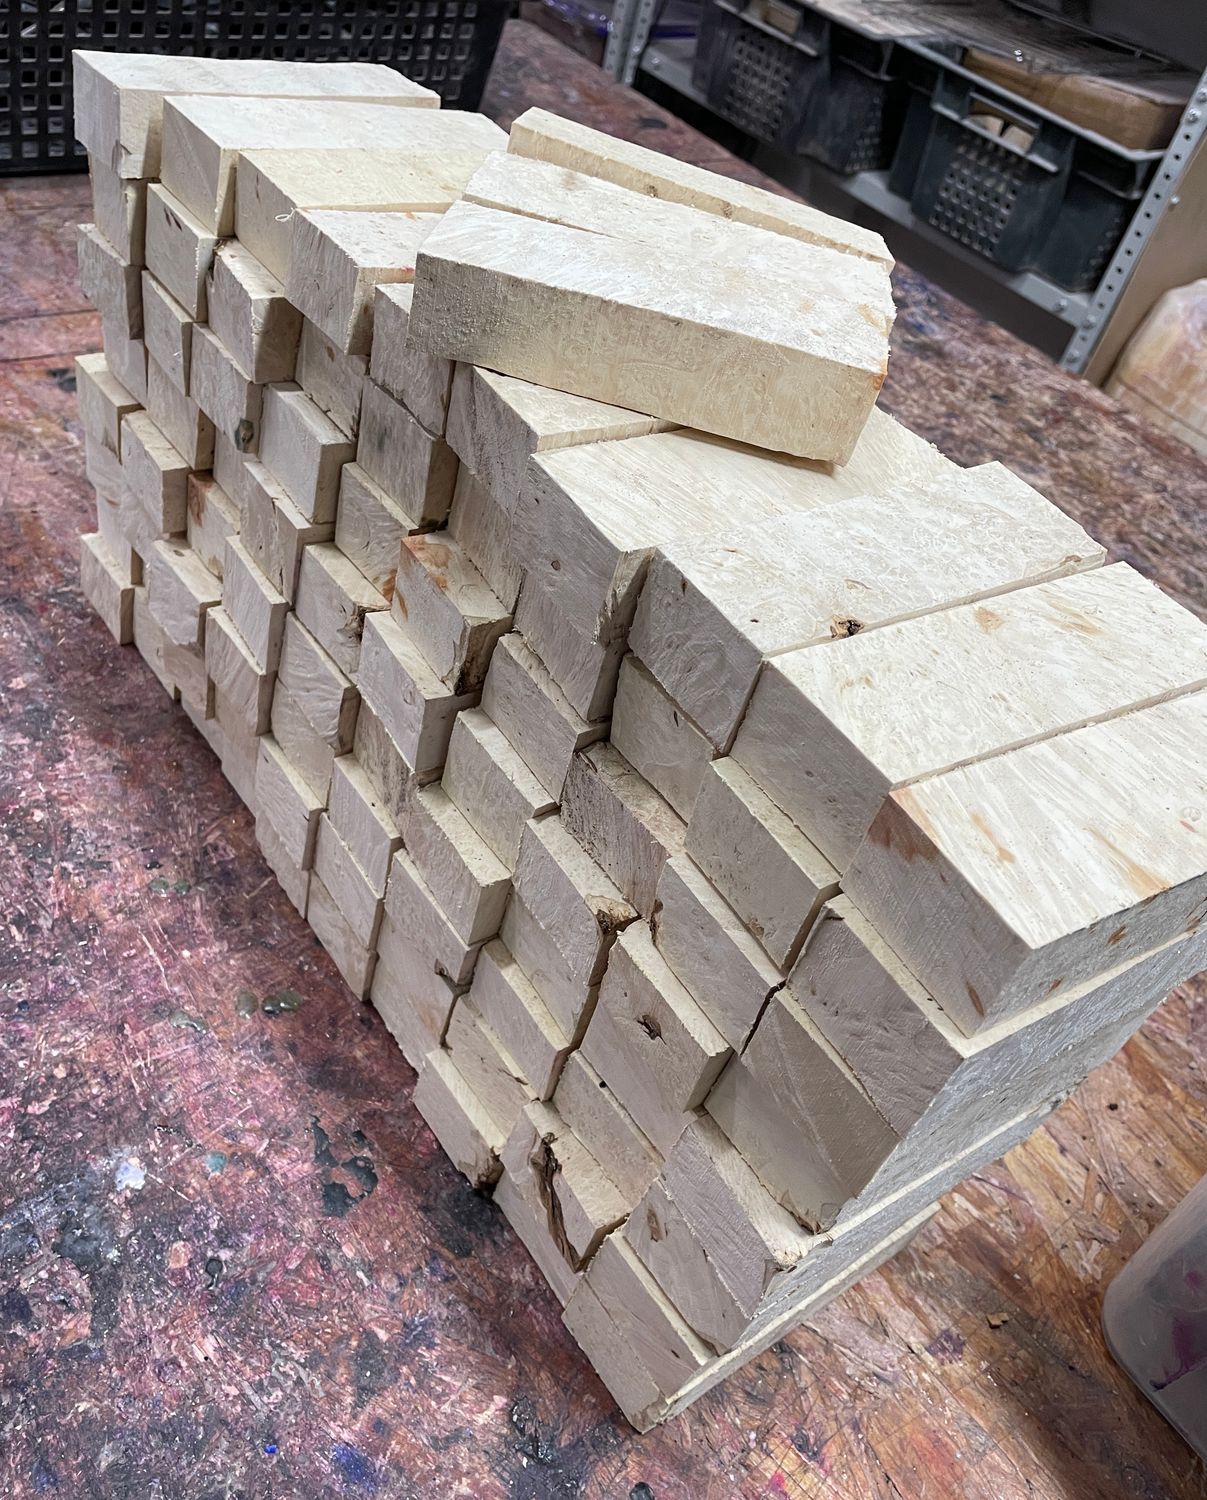
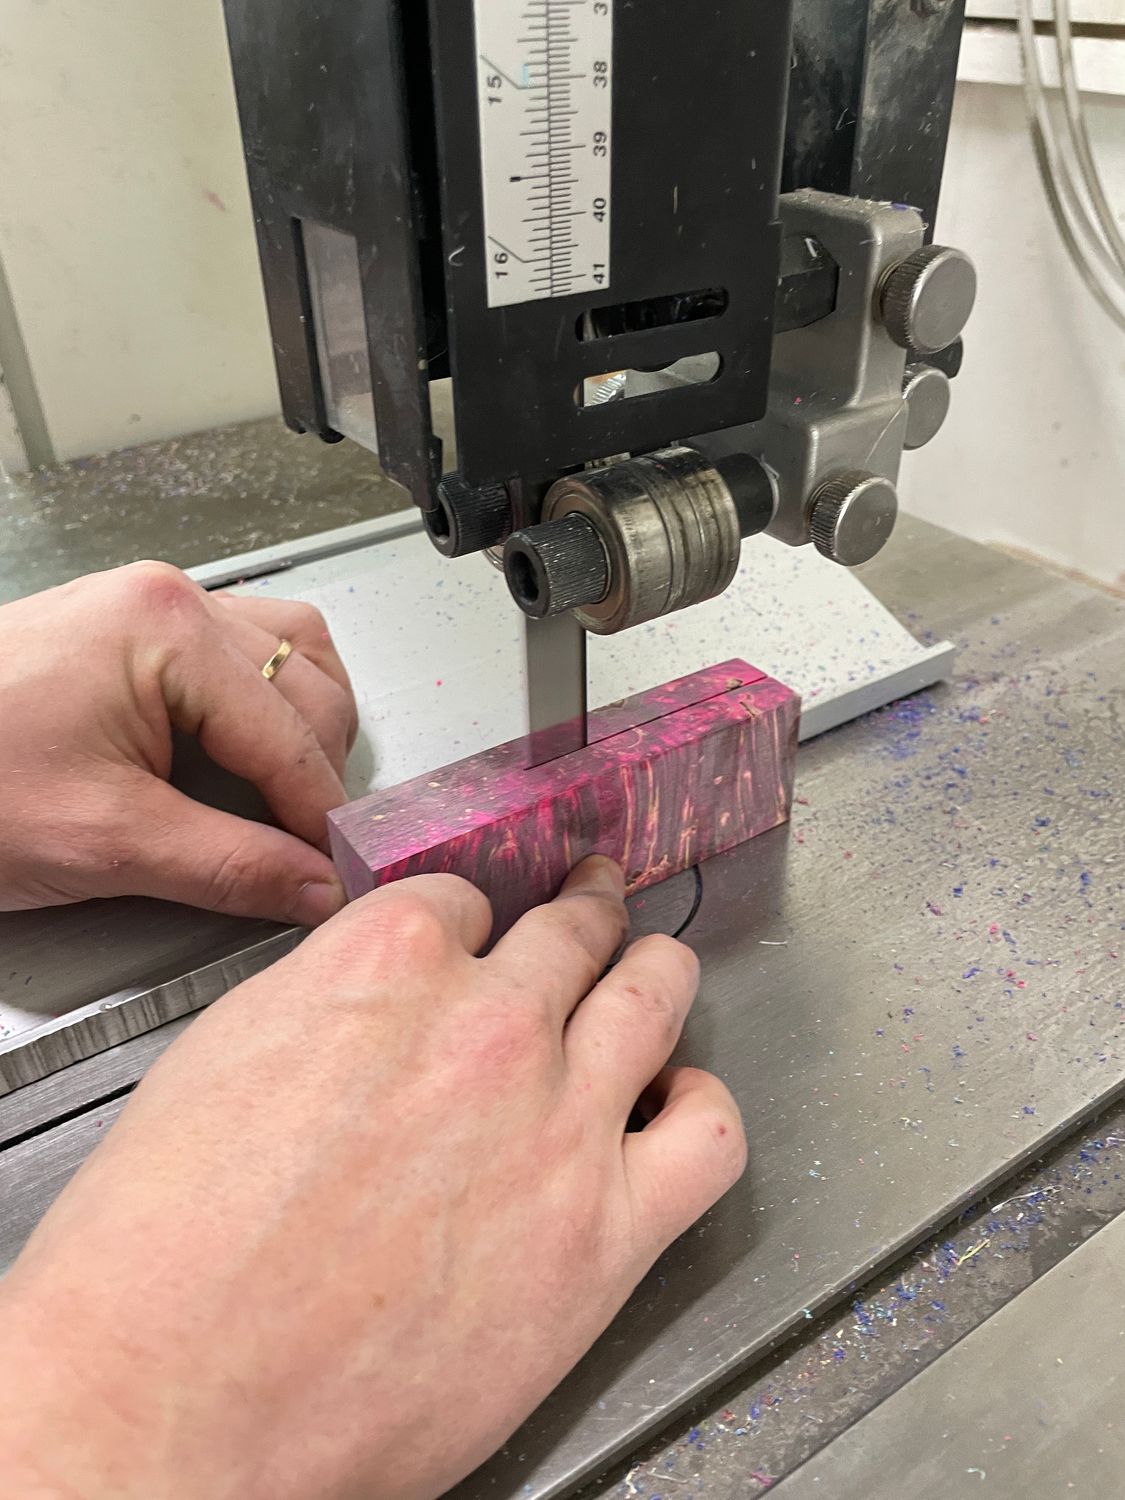
Cutting and Preparing Burl Blanks
Once the material is brought into the workshop, it needs to be reduced to workable size. Large pieces are cut down to isolate the dense sections that can actually be used.
A bandsaw is usually the most practical tool for this. Burl rarely has regular geometry, so flexibility matters more than precision at this stage. When the material is opened up, the internal structure becomes visible, and decisions can be made about what to keep and what to discard.
The preparation stage includes the following steps:
1. cutting the burl into sections - separating dense areas from unstable parts
2. shaping blocks to approximate size - preparing material for drying
3. leaving 2-3 mm allowance - accounting for shrinkage during moisture loss
4. sorting by density and structure - removing weak or inconsistent pieces
This approach helps reduce material loss later, especially after stabilization when corrections are no longer possible.
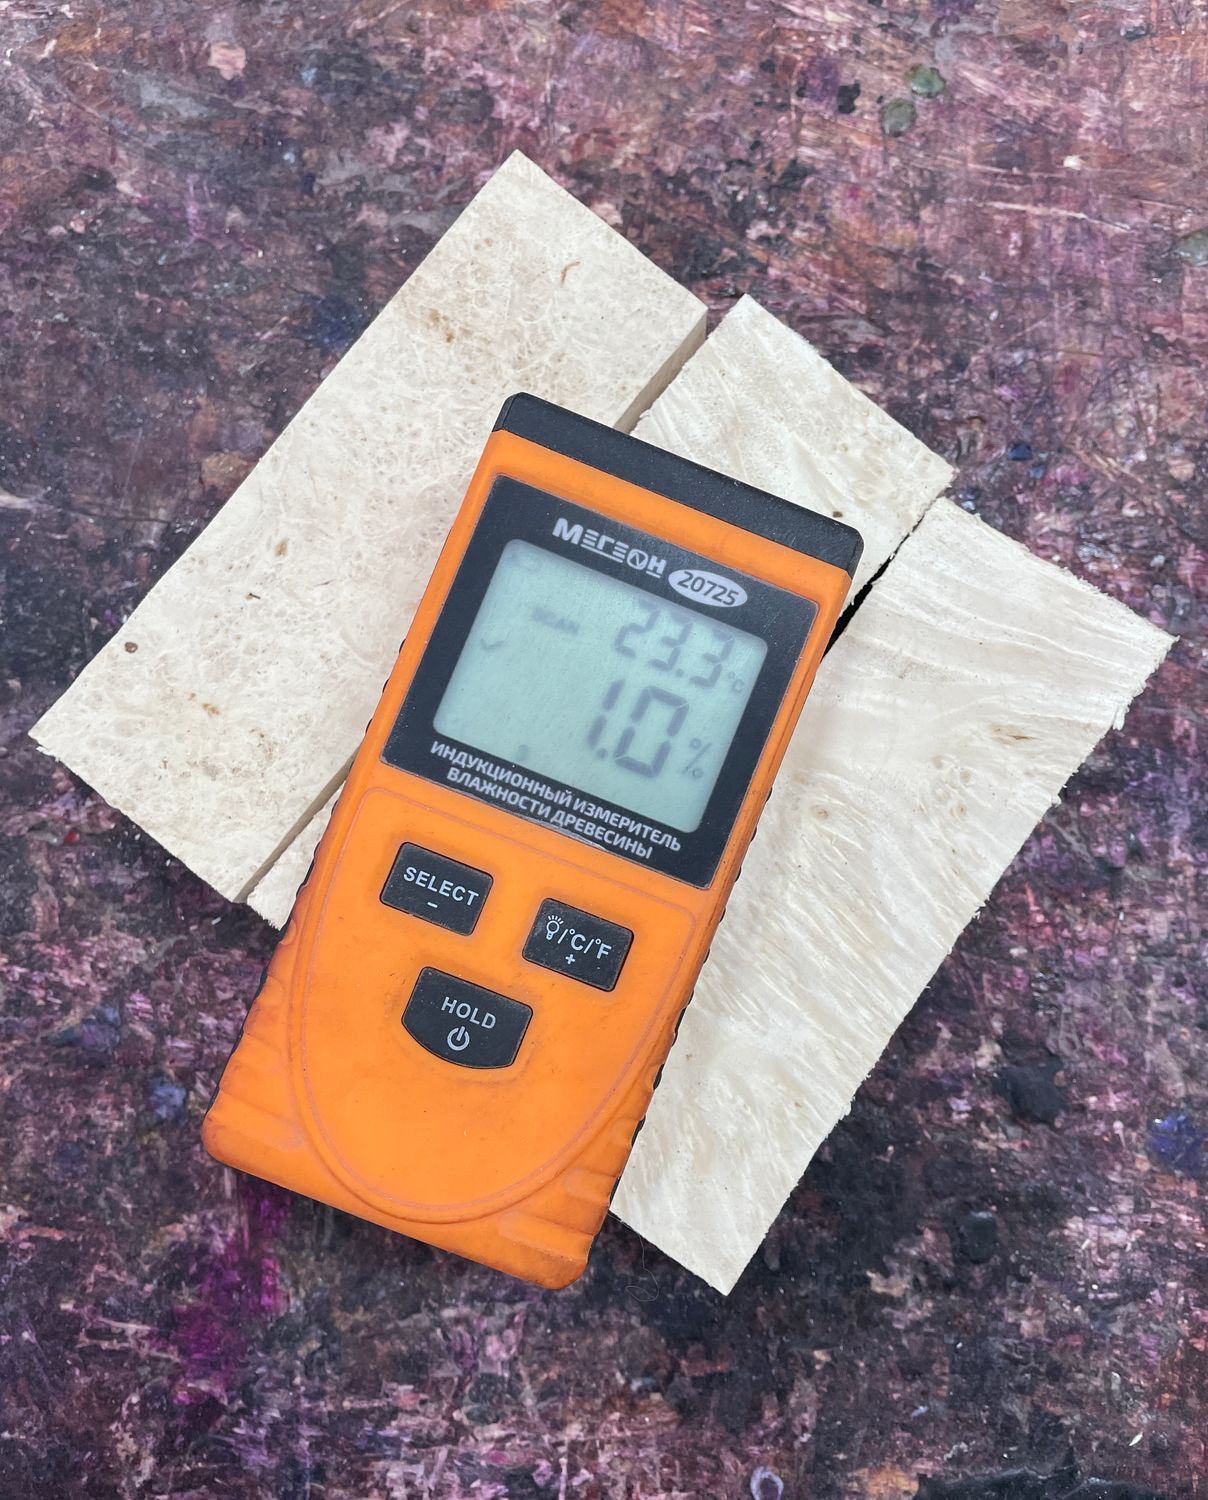
Drying Process and Moisture Control
Drying is often underestimated, but it is one of the stages where mistakes have long-term consequences.
If the process is rushed, the outer layer of the wood dries faster than the core. That creates internal stress, and cracks can develop either immediately or later in the process. Once they appear, there is no practical way to fix them.
The approach here is controlled and gradual. The material is kept at a relatively low temperature and given enough time to stabilize internally.
The process follows these parameters:
• temperature of 104–113 °F (40-45°C) - prevents rapid moisture loss and structural stress
• duration of 3-4 weeks - allows internal moisture to equalize
• target moisture content of 2-4% - required for effective resin penetration
• verification with a moisture meter - ensures the material is actually ready
If the wood is not properly dried, stabilization becomes inconsistent. Cactus juice cannot fully enter the structure, and during curing, trapped moisture can expand and cause damage from within.
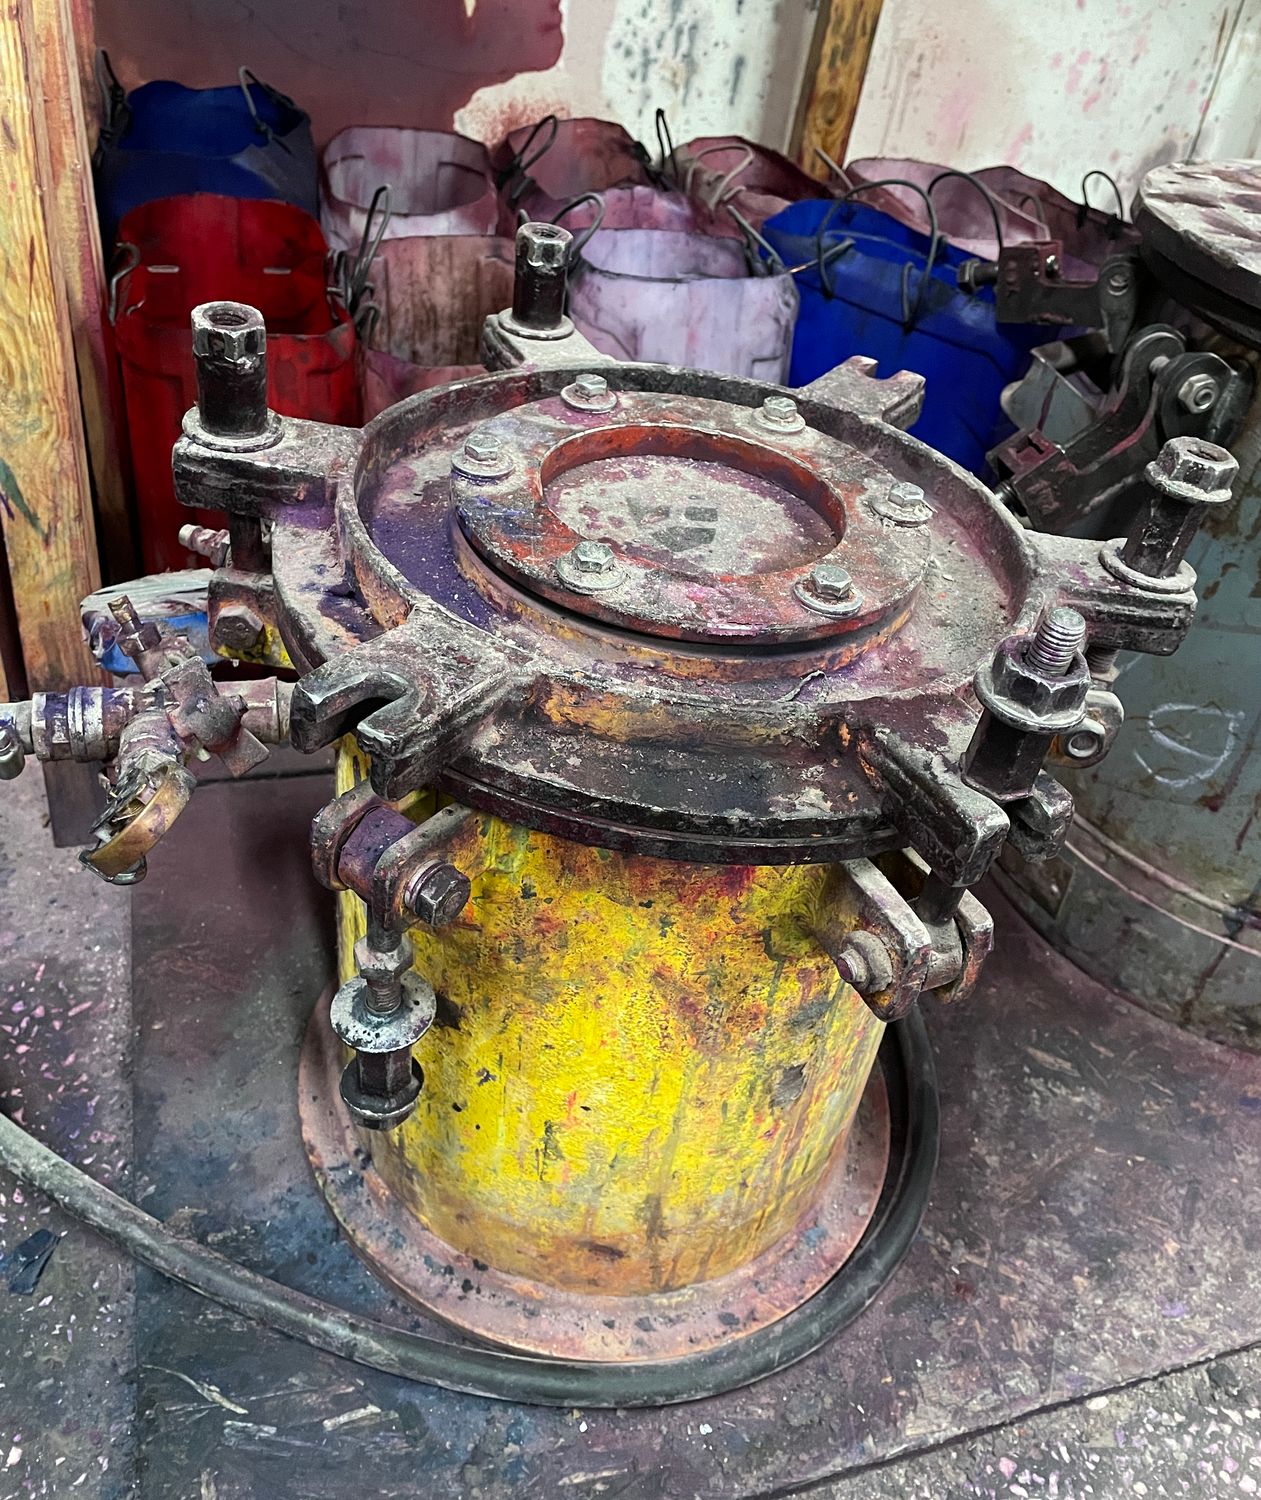
Stabilization Setup and Equipment Requirements
Once the material is dry, the process moves to stabilization. At this stage, the equipment matters more than the specific container or setup details.
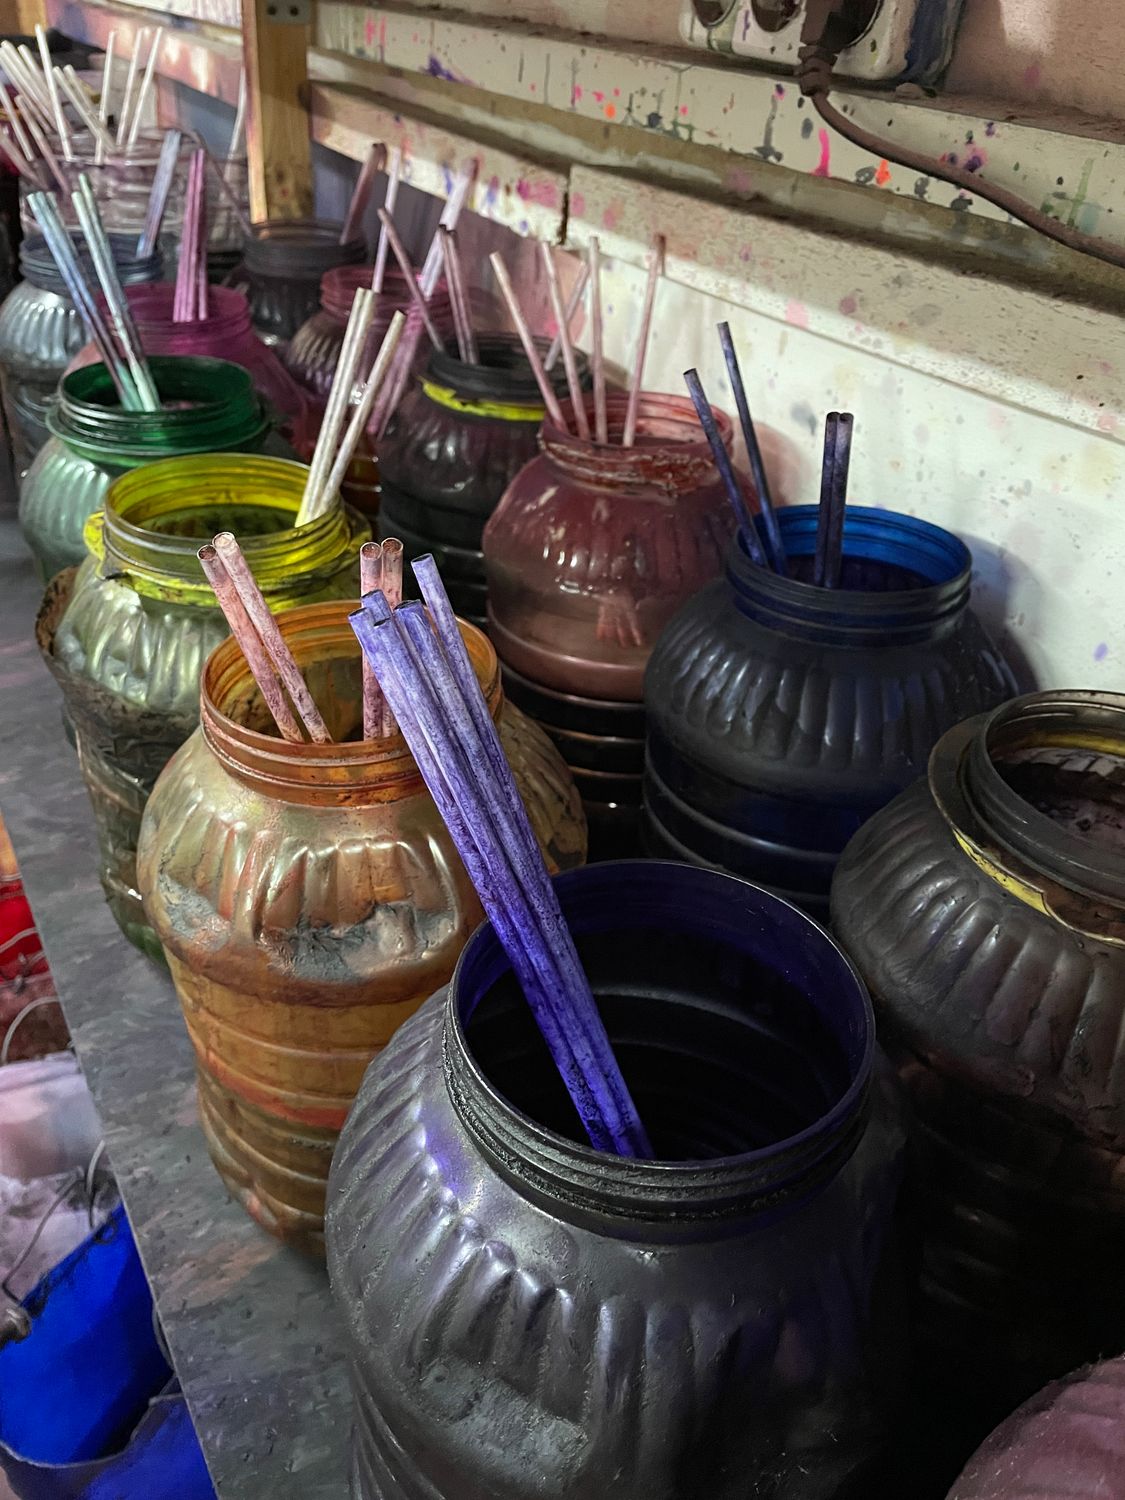
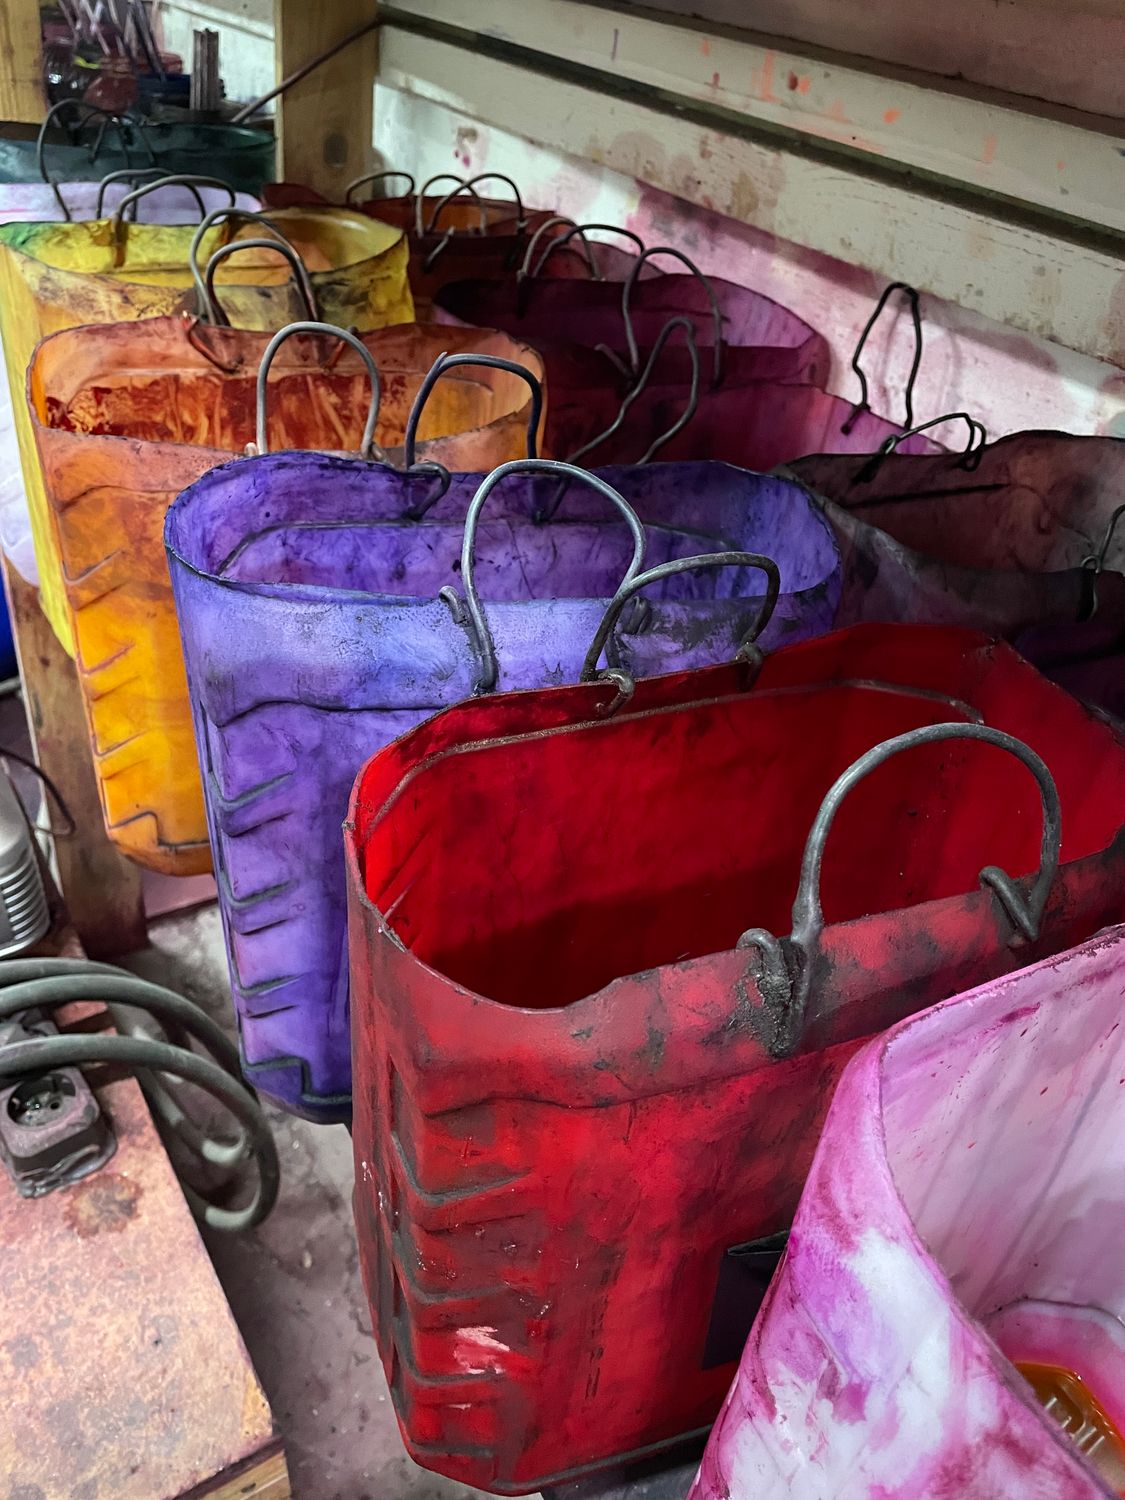
The cactus juice itself can be clear or dyed depending on the desired result. That part is flexible. What matters is maintaining a controlled environment where vacuum and pressure can be applied without fluctuation.
The essential components include:
• sealed pressure chamber - maintains controlled conditions during the process
• vacuum system - removes air from internal pores
• pressure system - forces stabilized resin into the structure
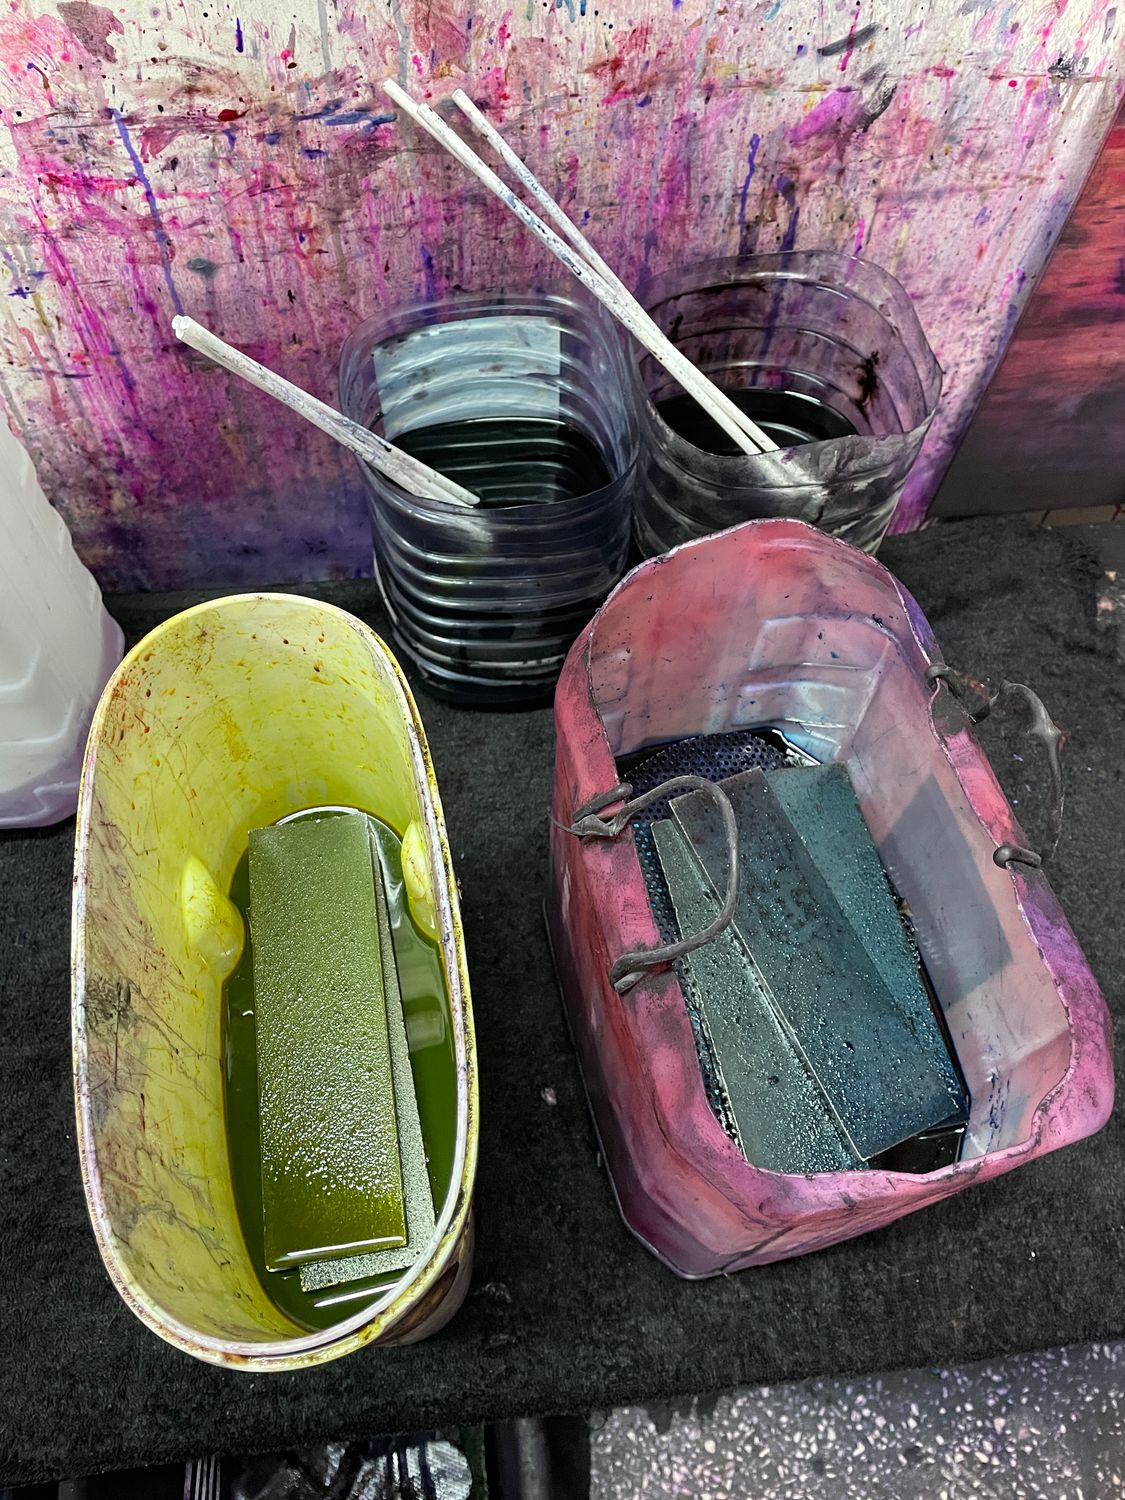
• holding plate - keeps blanks submerged during saturation
Without stable equipment, the vacuum stabilization process becomes unpredictable, and results vary from batch to batch.
Stabilization Process in Practice
The process itself is based on repeated cycles. Each stage serves a specific purpose, and skipping any of them affects the outcome.
The sequence typically follows this order:
1. vacuum phase (2-2.5 hours) - removes air from inside the wood
2. pressure equalization - allows cactus juice to begin entering the structure
3. pressure phase (~8 bar) - drives cactus juice deeper into the material
4. repeated cycles over two days - ensures full saturation
The timing here is not arbitrary. Shortening cycles may seem efficient, but it usually leads to incomplete penetration.
One detail that is often overlooked: after the first cycle, the resin level should be checked. The wood absorbs a noticeable amount early in the process. If the blanks are no longer fully submerged, the following cycles lose effectiveness.
Pressure Stage and Cactus Juice Penetration
The pressure phase is where the material begins to change internally. Without it, cactus juice remains closer to the surface.
With proper pressure, stabilized resin moves into deeper layers of the wood, filling voids and reducing internal porosity. This makes the structure more uniform and less prone to weak points.
A properly completed pressure stabilization stage results in a material that behaves consistently throughout its entire volume.
Curing and Final Material Hardening
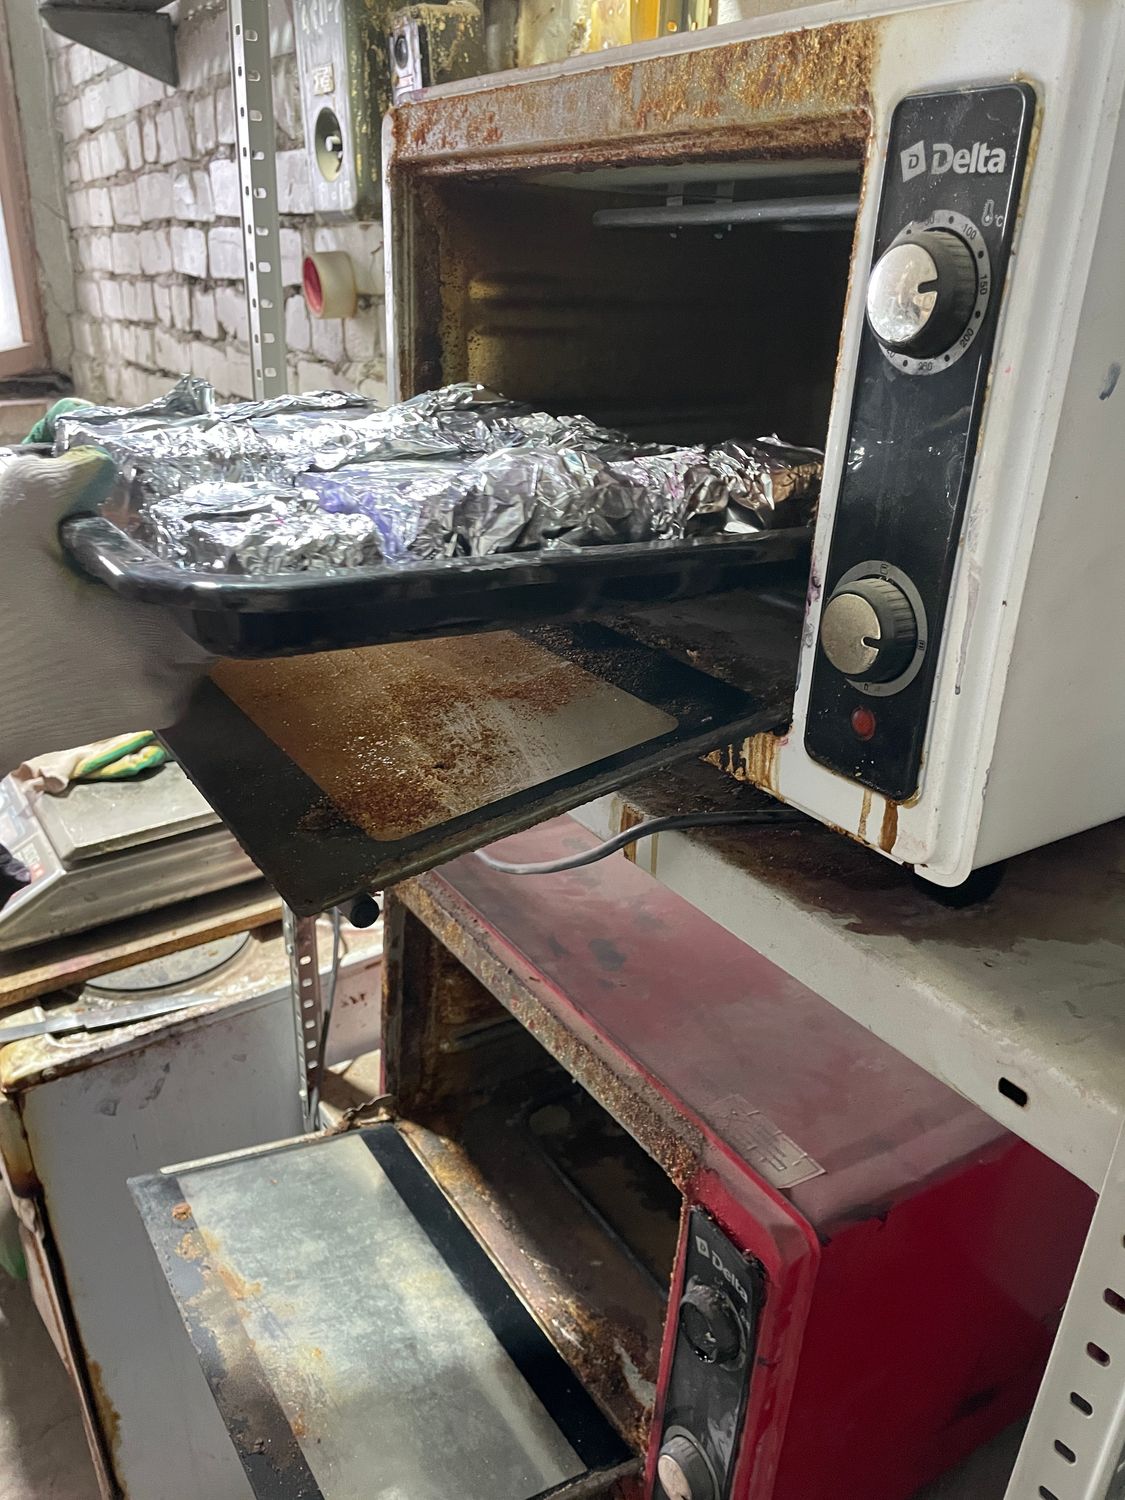
After the stabilization cycles, the material still needs to be cured. Without this step, the cactus juice remains in a liquid or semi-stable state.
The curing process is relatively straightforward. Blanks are placed in an oven and heated to a controlled temperature. Over time, the resin polymerizes and becomes solid.
Typical parameters include:
• temperature of 230-248°F (110-120°C) - activates the curing reaction
• duration of about 3 hours - ensures full polymerization
• consistent heat distribution - prevents internal stress
• controlled environment - avoids uneven results
It is normal for a hardened layer to form on the surface during this stage. This layer is removed later and does not affect the internal quality of the material.
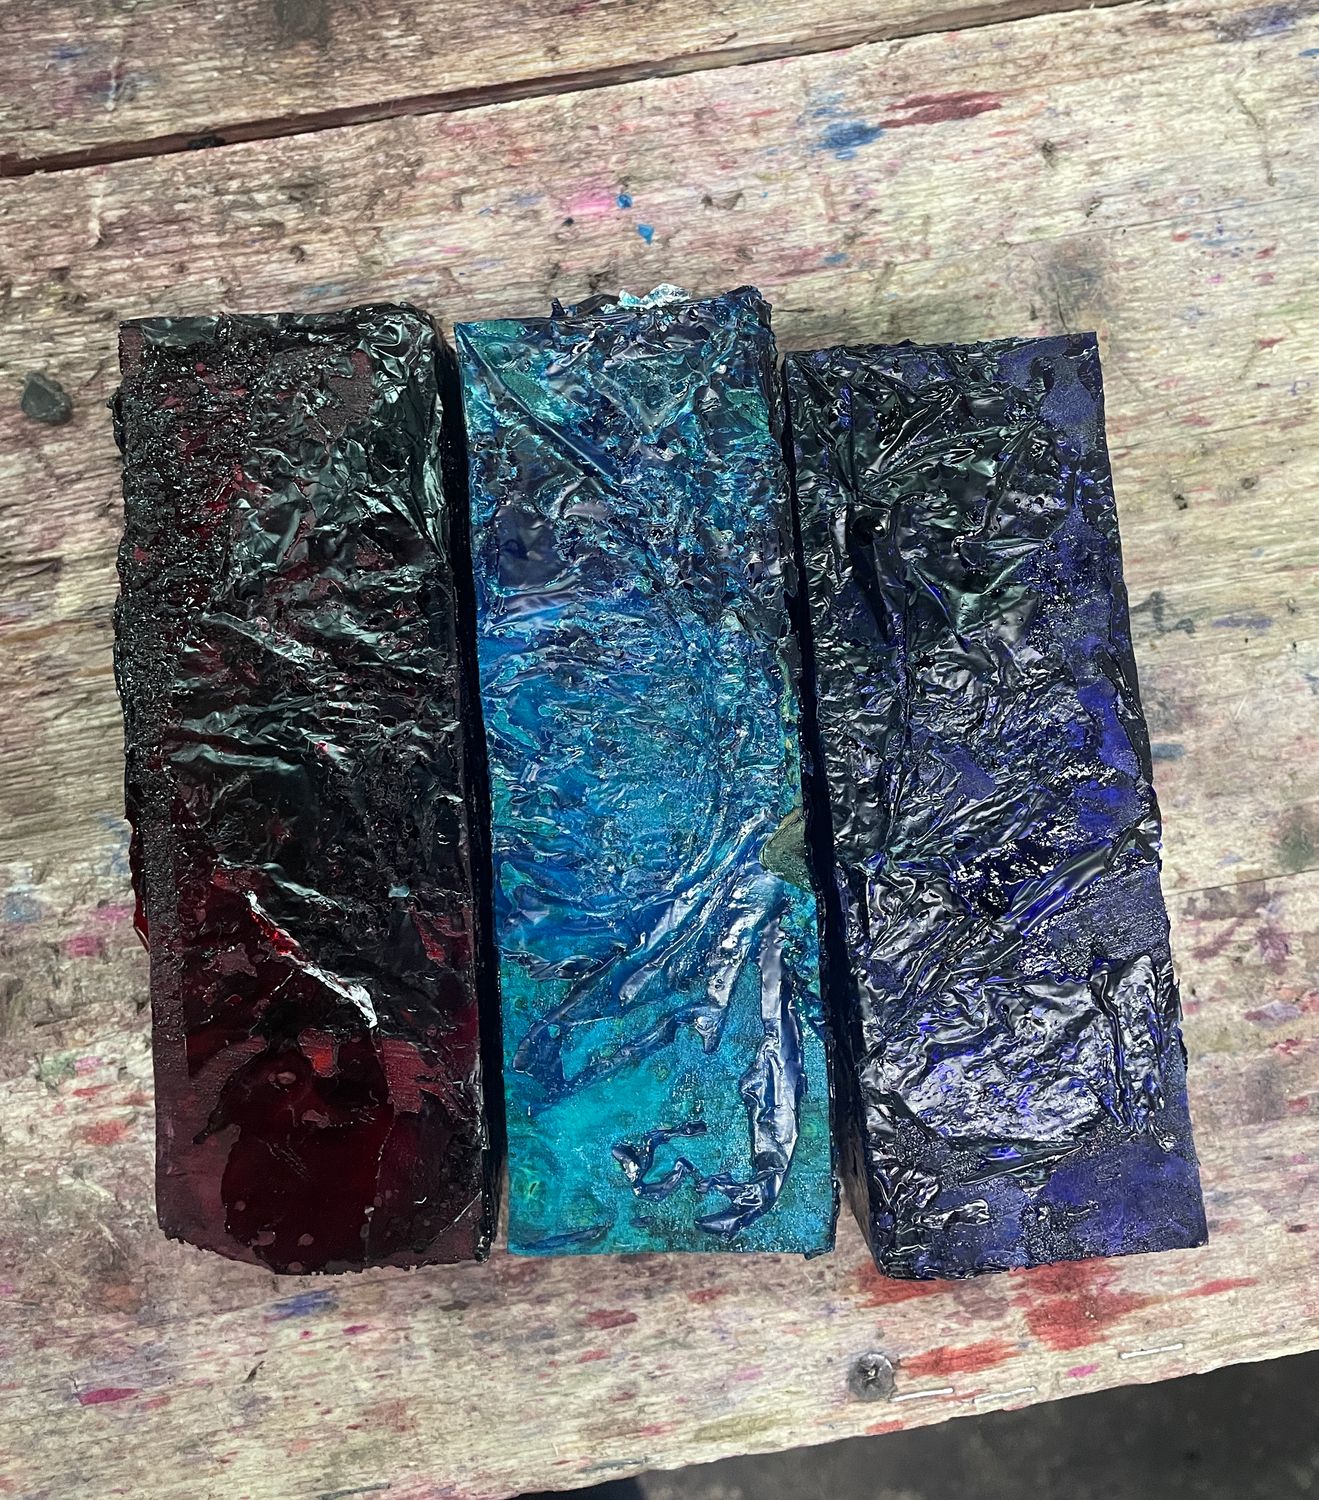
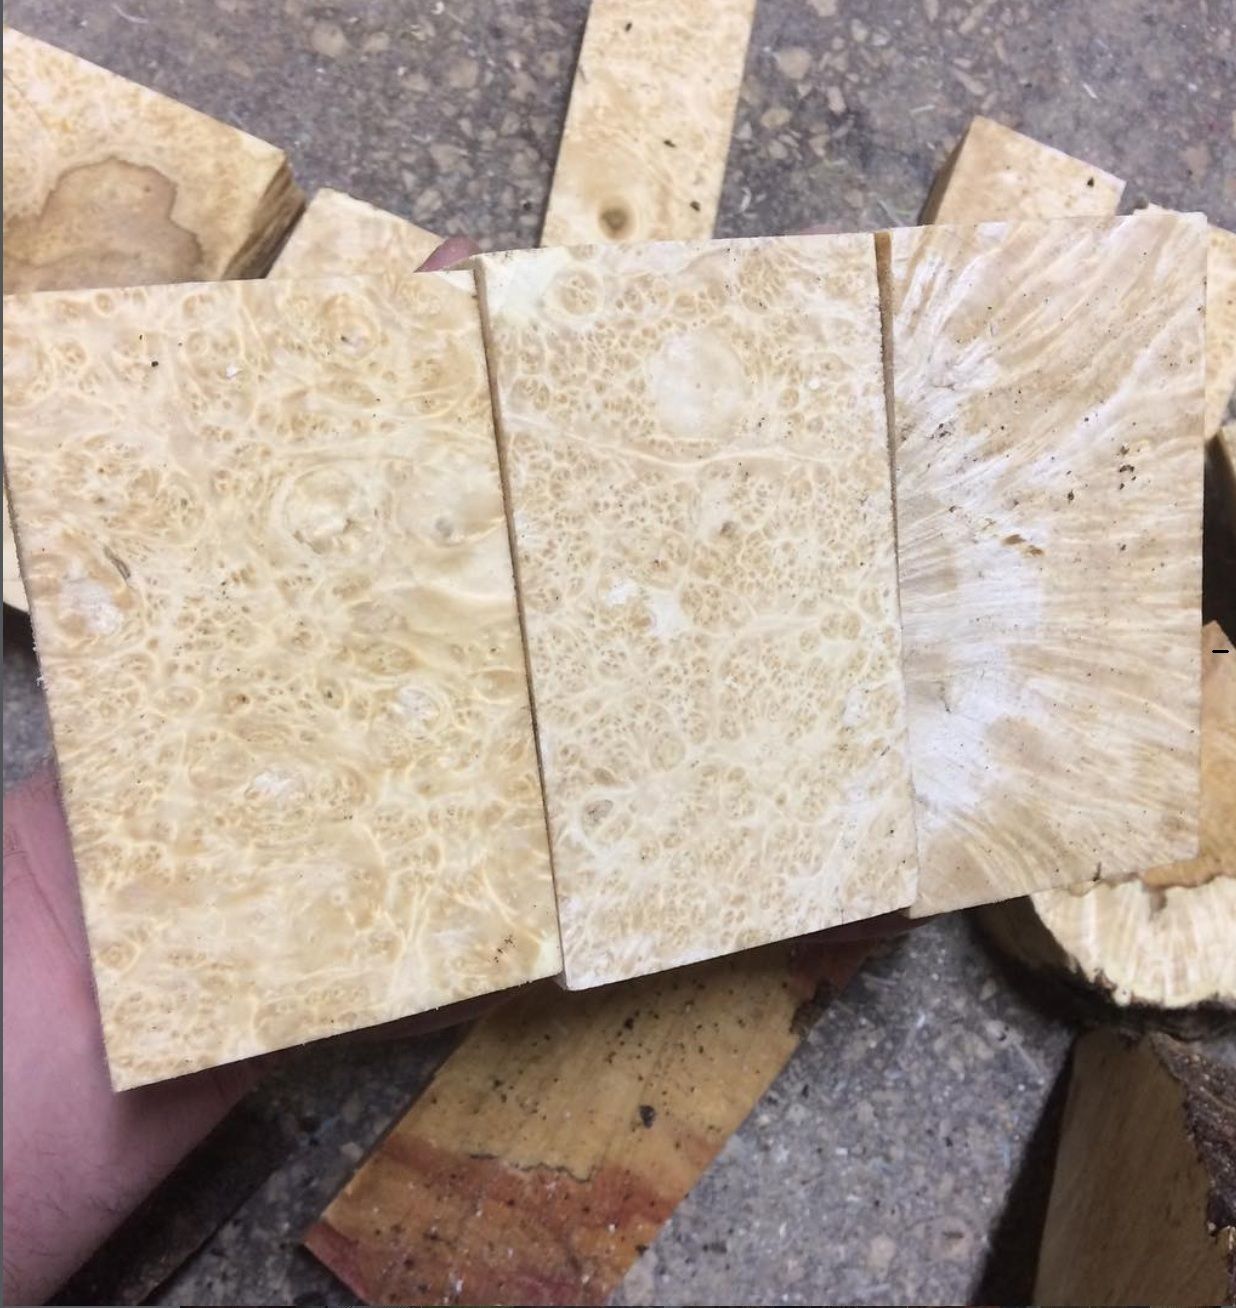
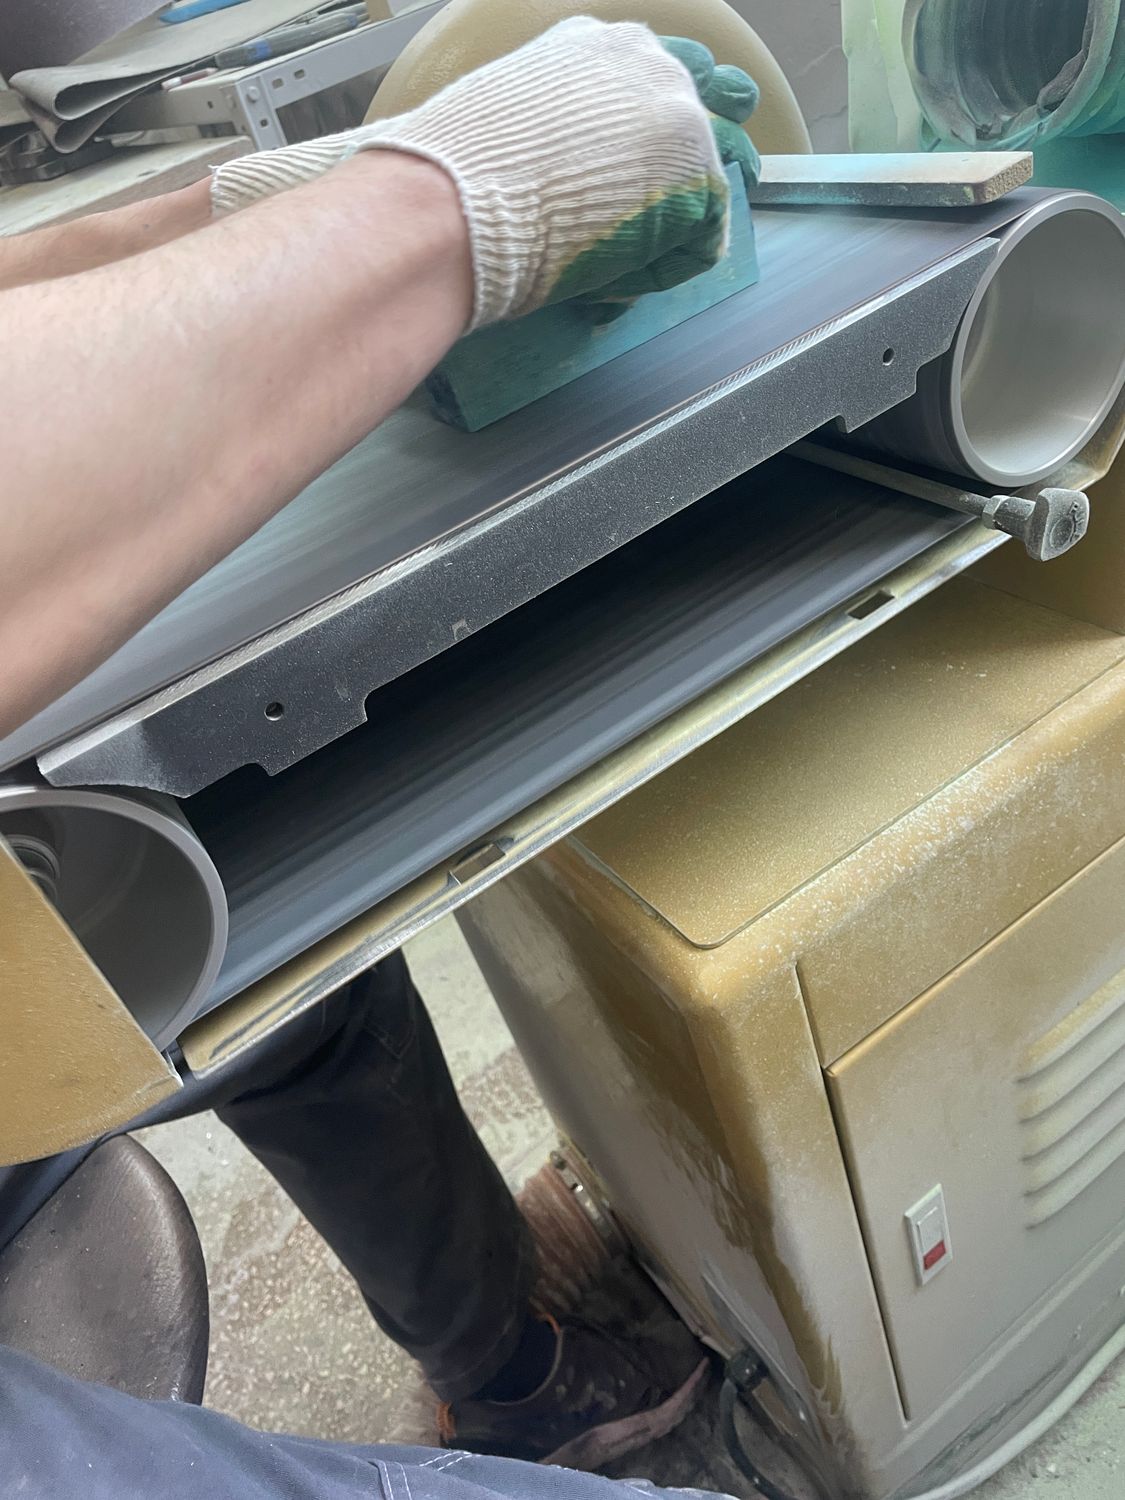
Processing into Knife Handle Scales
After curing, the material is ready for shaping. At this stage, the focus shifts from preparation to final form.
The outer layer is removed, the block is cut into scales, and thickness is adjusted to match the required dimensions. The process is mechanical but requires accuracy to maintain consistency across pieces.
The workflow includes:
• sanding the surface - removes cured resin residue
• cutting into scales - defines the final components
• flattening - ensures uniform thickness
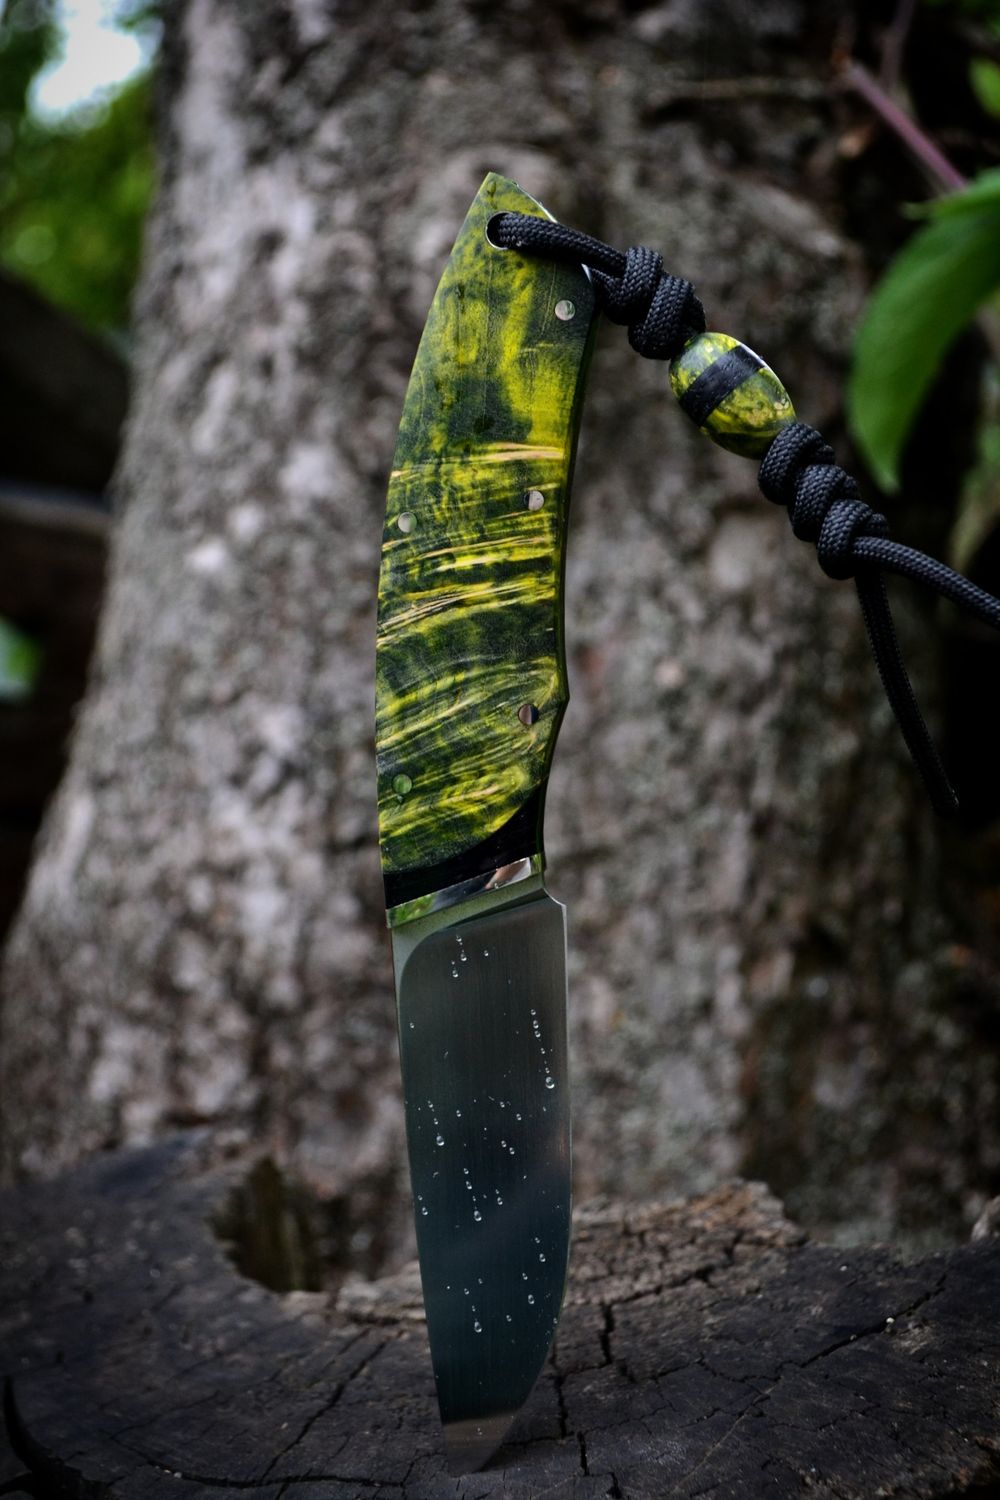
• applying oil finish - highlights the grain structure
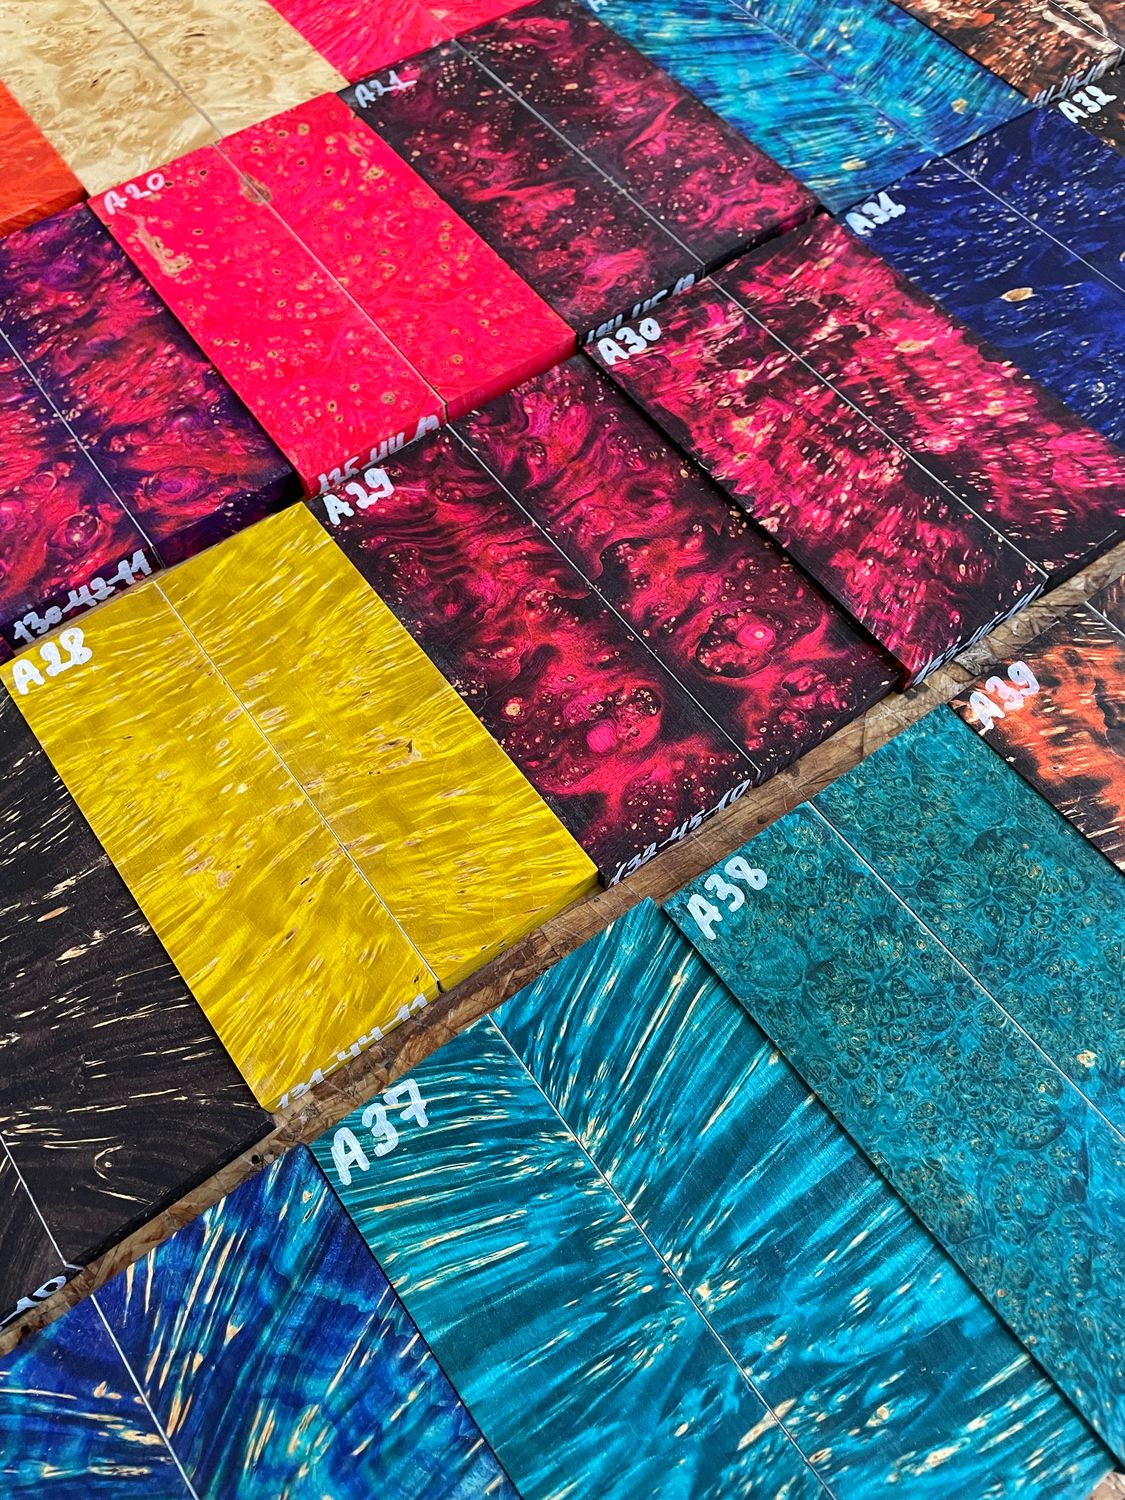
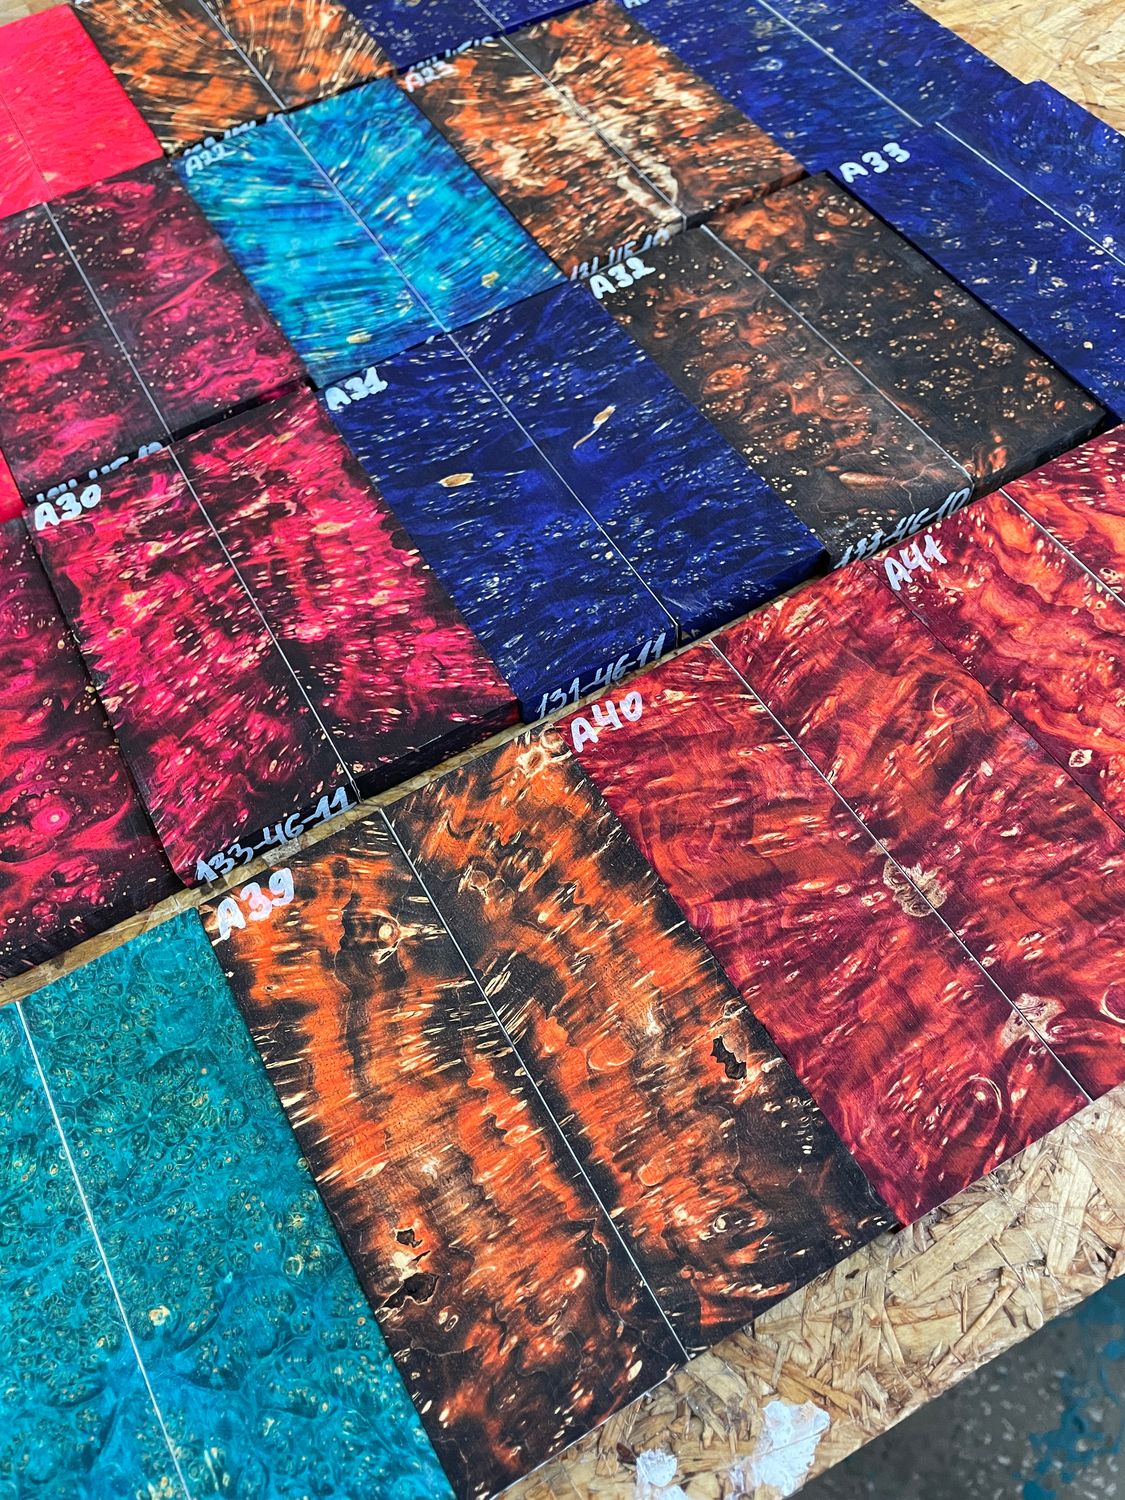
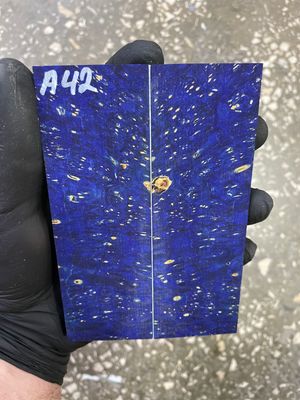
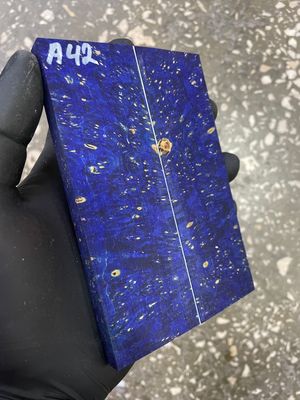
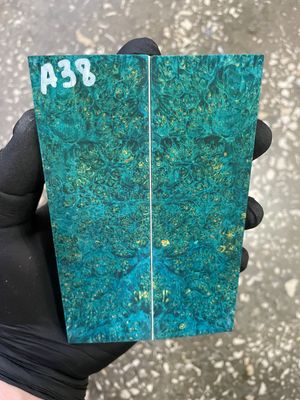
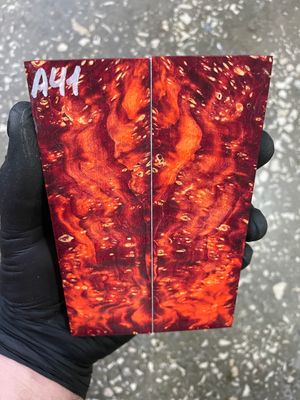
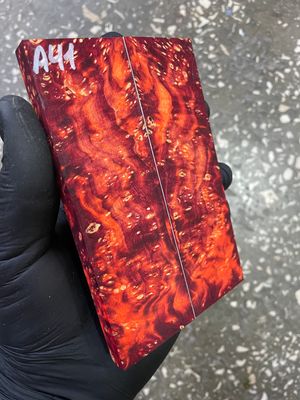
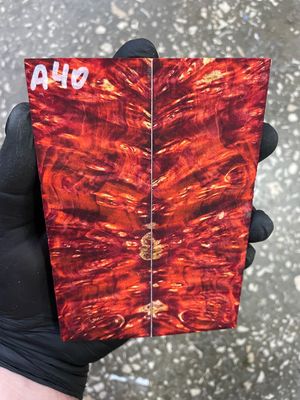
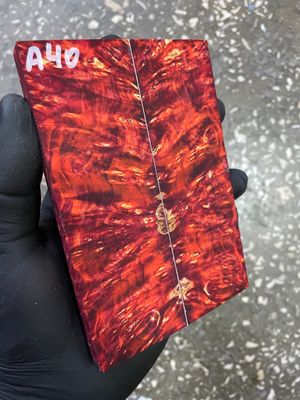
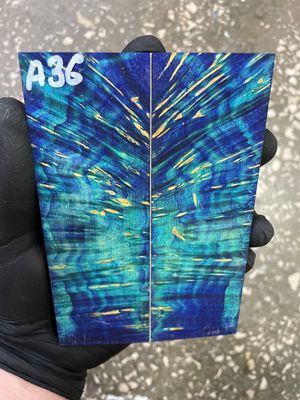
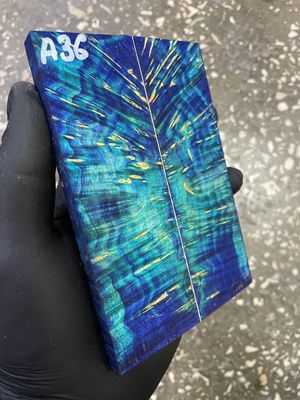
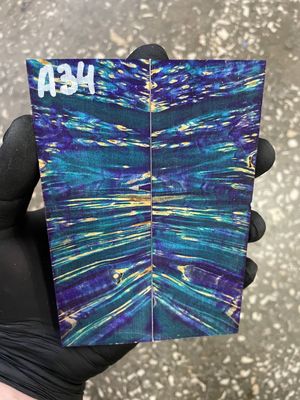
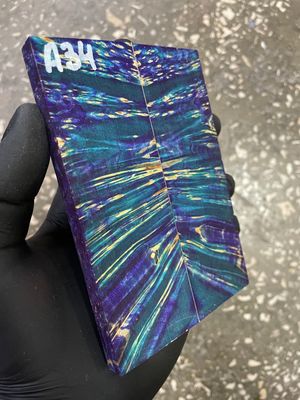
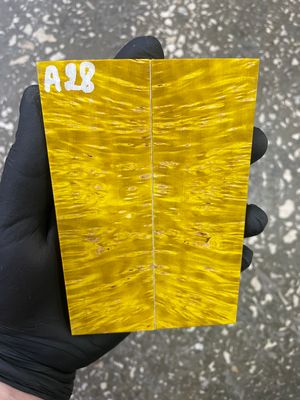
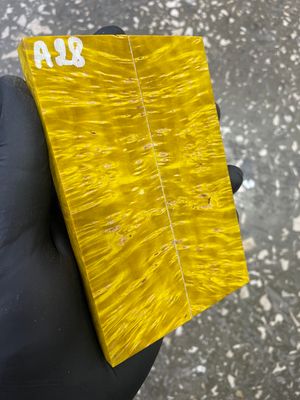
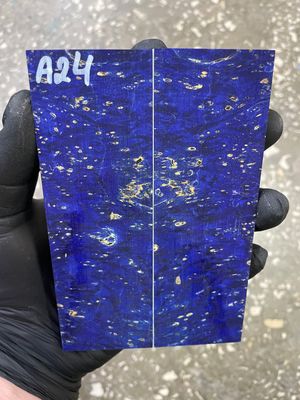
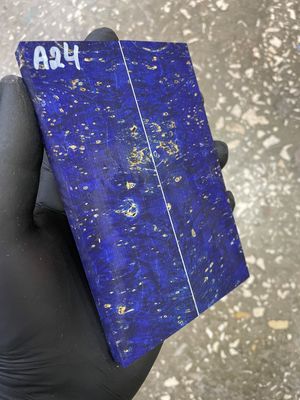
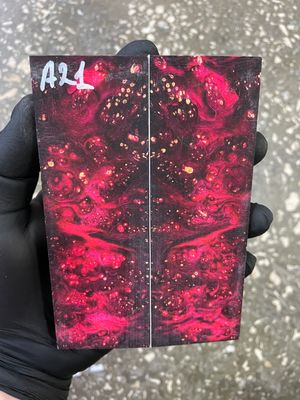
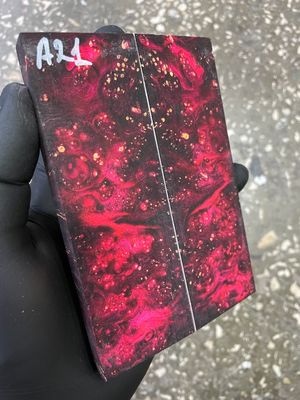
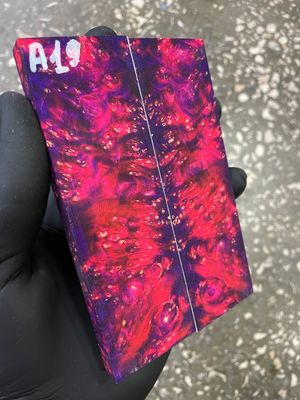
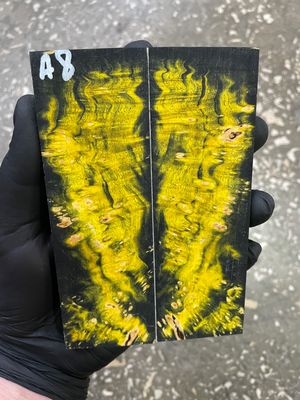
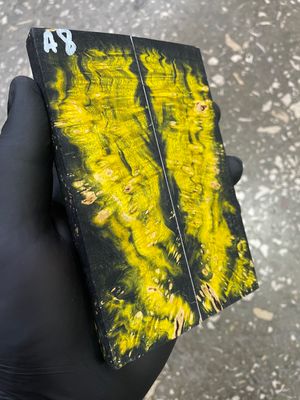
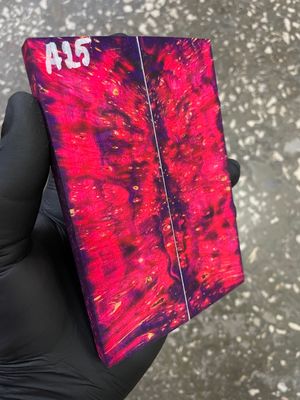
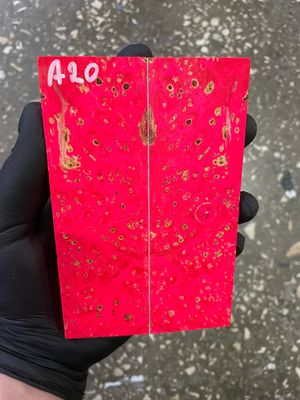
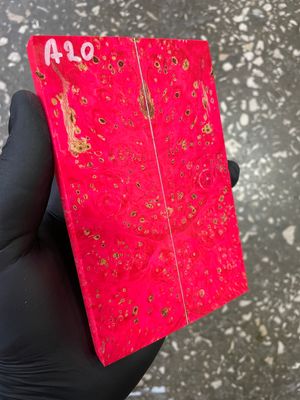
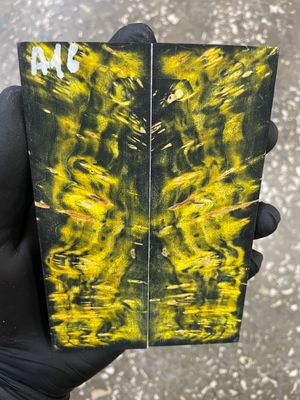
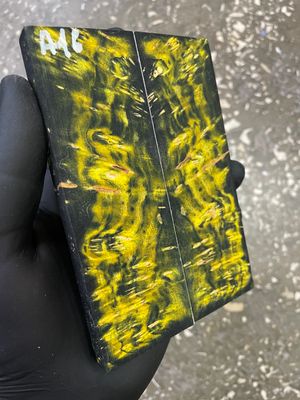
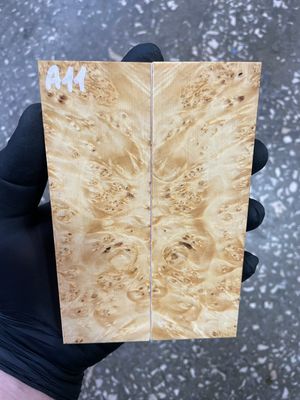
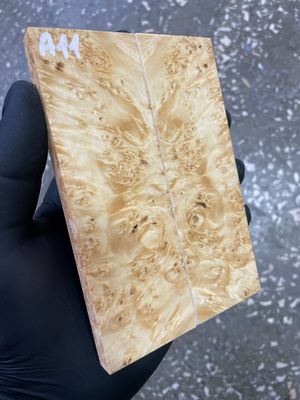
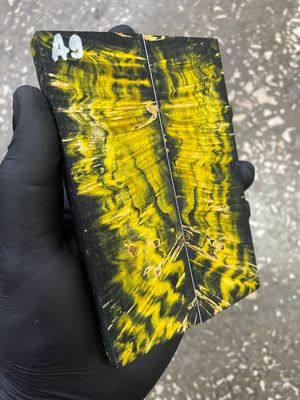
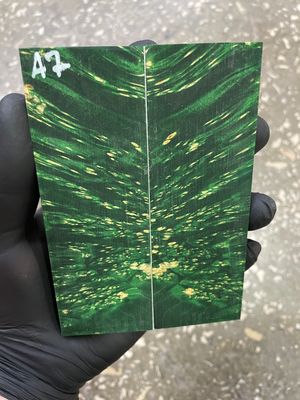
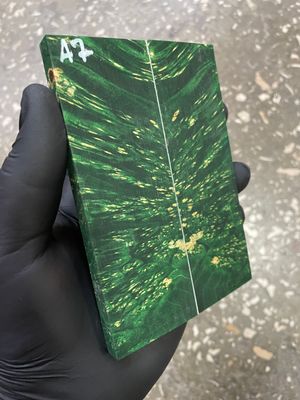
At this point, stabilized maple burl wood knife handle scales are ready for use and show their final visual characteristics.
Natural Material Variability and Limitations
Even with correct processing, burl remains unpredictable. That is a characteristic of the material, not a flaw in the process.
Internal voids, inclusions, and irregular grain patterns may still appear when the block is cut. Some of these features are visible early, others only become noticeable later.
Working with stabilized wood materials means accepting that complete uniformity is not always possible.
Why Stabilized Maple Burl Is Widely Used
Once the difference is seen in practice, the reason becomes clear. Stabilized material behaves differently during both machining and long-term use.
It holds its shape, reacts less to environmental changes, and provides a more consistent result. At the same time, the grain structure becomes more pronounced, giving the material a distinct visual identity.
This combination explains why stabilized maple burl wood is commonly used in knife making.
Independent Stabilization vs Ready-Made Materials
The stabilized wood process can be performed independently, but it requires proper setup and attention to detail.
Drying, stabilization cycles, and curing all need to be controlled. Skipping steps or simplifying the process leads to inconsistent results.
For many makers, using ready-made stabilized wood scales is a practical alternative. It reduces uncertainty and allows focus to remain on shaping and finishing the knife itself.
Skip the Process - Start Building
Stabilizing wood requires time, equipment, and precision. If you’d rather focus on making knives, ready-made stabilized scales are the most efficient solution.
Our maple burl scales are carefully selected, stabilized under controlled conditions, and prepared for immediate use.
👉 View available pieces:
Maple burl stabilized for sale:


FossilUSA
Premium stabilized materials for knife making
Contact:
dimafan777@gmail.com


Secure Payments
PayPal · Visa · Mastercard